Sunday 6 February 2011

Working on a Resolved Design

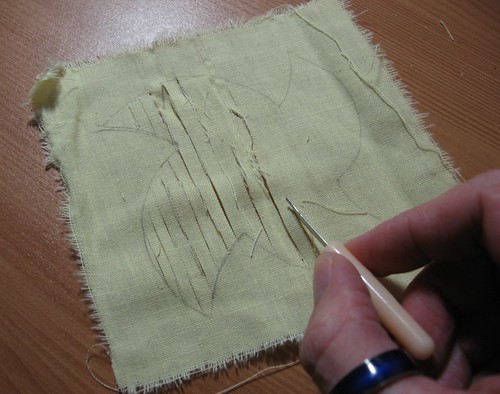
I started to work on the resolved design for the module about a week ago.  I feel stuck.  I have ideas of what I want to do but I can’t find a way to translate them onto paper.  I think in my head I’m trying to go backwards.  The idea is to create a paper design and work from that but, well, I know that I want to – or at least the technique I want to use - and I’m trying to force the paper design into what I’m thinking about.  But I’m not completely clear on what I’m thinking of so I’ve got myself into a little pickle!  Well here’s what I’ve come up with so far.  I’m going to ask Sian for some guidance.

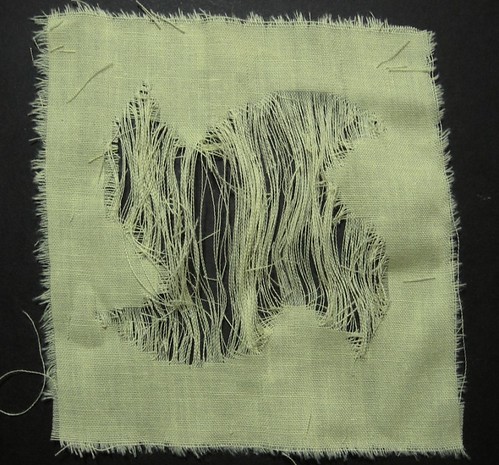
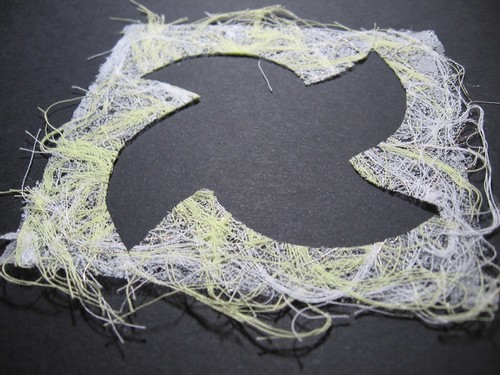
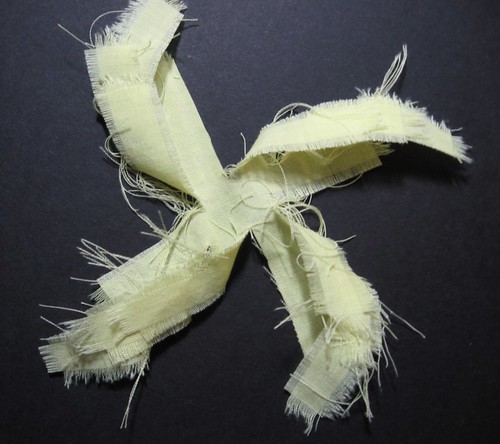
Image 1 – I was playing with my favourite star/cross shape when I noticed the void created:Doodle

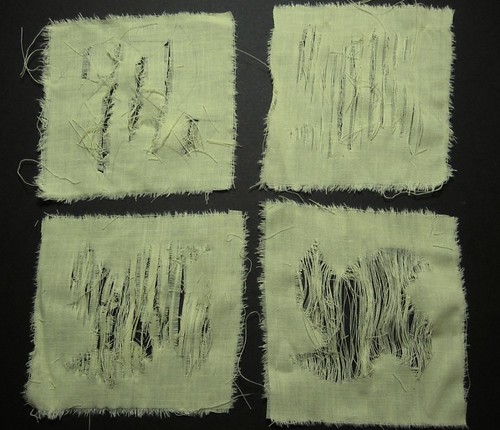
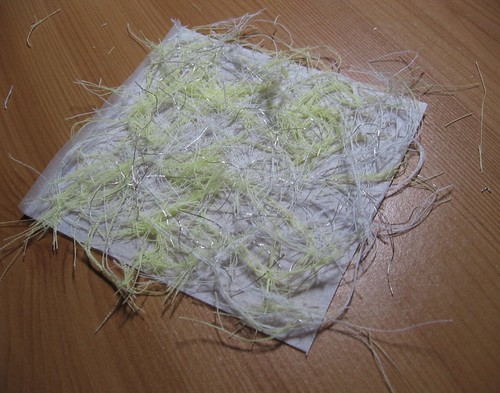
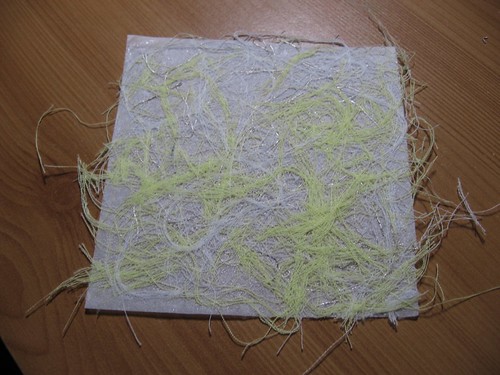
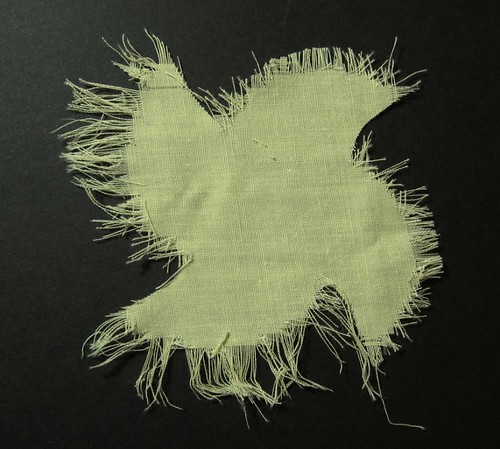
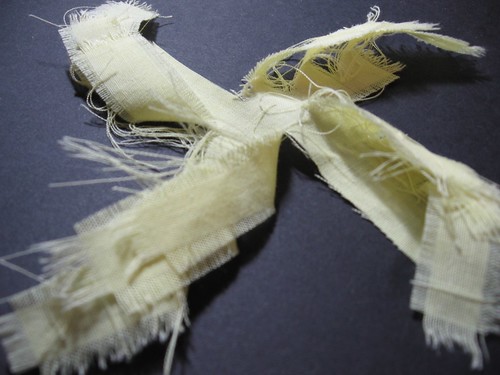
Image 2 – My first play with papers.  I wanted to look at the voids I’d spotted in the previous drawing:Sheet 1

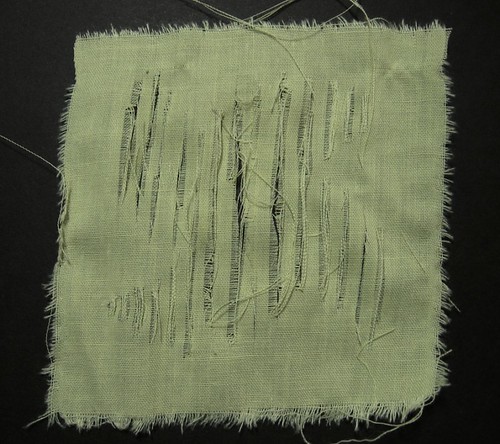
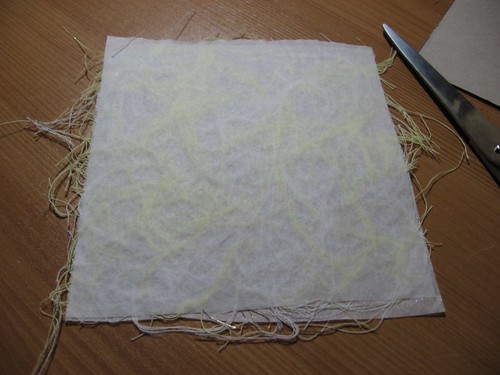
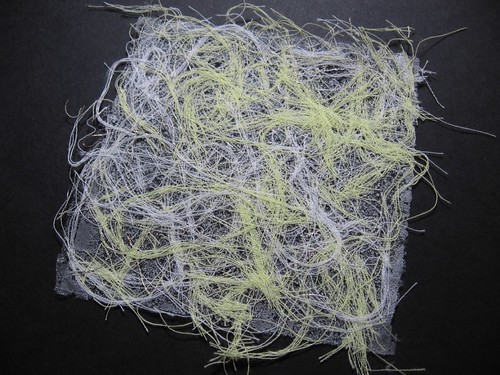
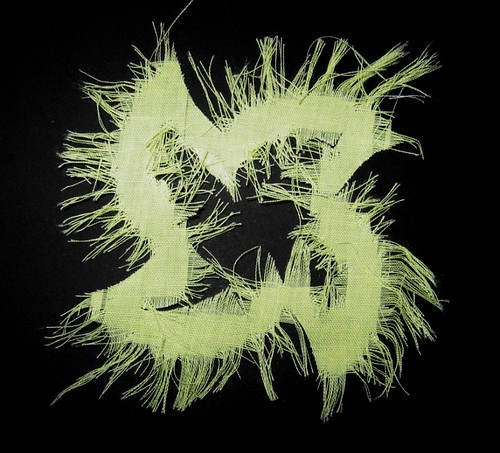
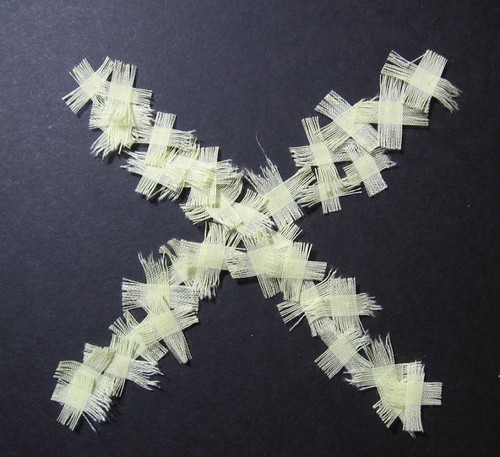
Image 3 – I used the same cut squares but this time really concentrated on the voids with them being more filled in at the centre:Sheet 2

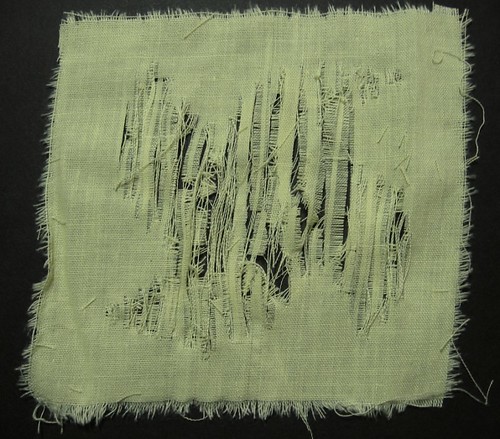
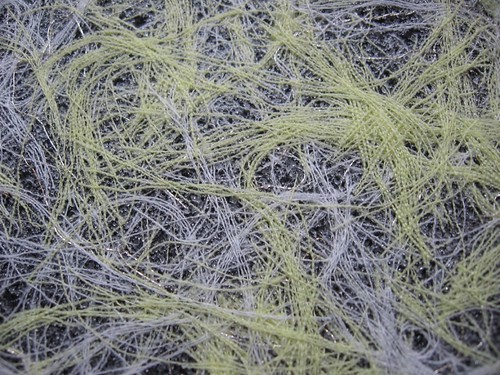
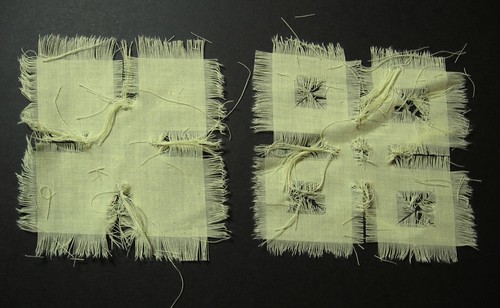
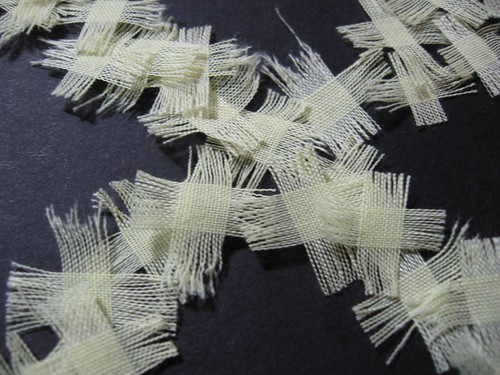
Image 4 – Close up of the middle set of voids.  I’ve filled them in but feathered the edges so there aren’t solid blocks:Sheet 2 - Close Up Middle

Image 5 – Close upSheet 2 - Close Up

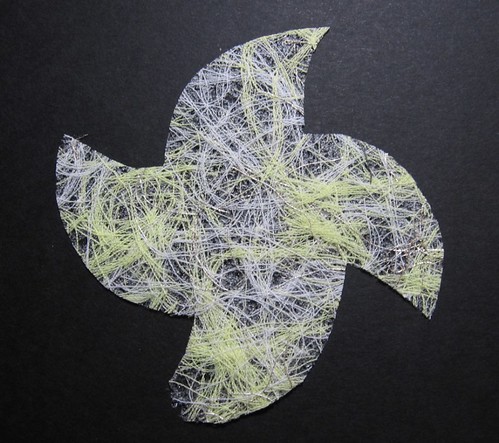
Image 6 – This was just me playing with different cutting of the shapes: Sheet 3

Image 7 – Close up of one of the cut shapes.  I really like the spiral effect of the shape:Sheet 3 - Spiral shape

Image 8 – A play on the ‘windmills’ from earlier in the chapter but this time I turned them upside down:Sheet 4 - Spirals

Image 9 – More ‘windmills’!Sheet 4 - Spirals angled

Image 10 – I had some left over cut pieces from the earlier designs so I used them.  I like the shapes formed where the two middle pieces cross:Sheet 5 - Leftovers!

Image 11 – Close up of the middle:Sheet 5 - Closer

Making Fabric Disintegrate or Grow 3

Making a shape using multiples of the same shape.

Image 1 – First I cut out shapes from my decorative fabrics:Chapter 11 - Disintegration with Stitch - 19

Image 2 – I cut squares of gold organza and pinned them to a yellow backing fabric, sandwiching in some yellow netting.  I sewed each organza square individually:Chapter 11 - Disintegration with Stitch - 15

Image 3 – The finished backing:Chapter 11 - Disintegration with Stitch - 17

Image 4 – Close up of the backing fabric:Chapter 11 - Disintegration with Stitch - 18

Image 5 – Next I added the cut shapes and free embroidered them:Chapter 11 - Disintegration with Stitch - 21

Image 6 – Stitching the final shape:
Chapter 11 - Disintegration with Stitch - 22

Image 7 – The finished piece. I really like the shapes of the voids produced:Chapter 11 - Disintegration with Stitch - 23

Image 8 – Close up: Chapter 11 - Disintegration with Stitch - 25

Making Fabric Disintegrate or Grow 2

Here I’m using stitch to grow or disintegrate a shape.

Image 1 – My desk while I was working.  What a mess!Chapter 11 - Disintegration with Stitch - 8

Image 2 – Making a shape ‘disappear’ by using stitching of the same colour as the background.  The more stitching the more the shape vanishes:Chapter 11 - Disintegration with Stitch - 9

Image 3 – Close up of sewing the parallel lines on the machine:Chapter 11 - Disintegration with Stitch - 12

Image 4 – Close up of square:Chapter 11 - Disintegration with Stitch - 10 

Image 5 – Cutting away the shape: Chapter 11 - Disintegration with Stitch - 1

Image 6 – More stitch lines and cutting away a smaller section of fabric:Chapter 11 - Disintegration with Stitch - 2

Image 7 – Yet more stitching and even less fabric cut away:Chapter 11 - Disintegration with Stitch - 3

Image 8 – close up of cut away area:Chapter 11 - Disintegration with Stitch - 4

Image 9 – Hiding a shape using bondaweb and thread waste:Chapter 11 - Disintegration with Stitch - 7

Image 10 – Hiding a shape using different coloured threads:Chapter 11 - Disintegration with Stitch - 13

Image 11 – Close up:Chapter 11 - Disintegration with Stitch - 14

Making Fabric Disintegrate or Grow 1

Here I’m ‘growing’ the shape by slashing the fabric and then fraying.

Image 1 – Slashing a square of fabric to create the shape:Chapter 11 - Disintegrating Fabric 21

Image 2 – Several slashed squares.  The shape slowly appears:Chapter 11 - Disintegrating Fabric 22

Image 3 – Close up:Chapter 11 - Disintegrating Fabric 24

Image 4 – Close up:Chapter 11 - Disintegrating Fabric 25

Image 5 – Close up:Chapter 11 - Disintegrating Fabric 26

Disintegrating Fabric 2

I decided to have a play with bondaweb and thread waste to ‘grow’ a piece of fabric!

Image 1 – First I covered a piece of bondaweb with yellow, white and silver thread waste:Chapter 11 - Disintegrating Fabric 13

Image 2 – With another piece of bondaweb on the top I ironed to bond using greaseproof paper to prevent scorching:Chapter 11 - Disintegrating Fabric 14

Image 3 – My bondaweb thread sandwich:Chapter 11 - Disintegrating Fabric 15

Image 4 – Off came the top backing paper:Chapter 11 - Disintegrating Fabric 16

Image 5 – Off came the other backing sheet to reveal my bonded square:Chapter 11 - Disintegrating Fabric 17

Image 6 – Close up of the square.  You can see the texture of the melted glue and in the right light it sparkles a little:Chapter 11 - Disintegrating Fabric 18

Image 7 – My chosen shape cut out from the bonded fabric square:Chapter 11 - Disintegrating Fabric 19

Image 8 – The remaining bonded fabric square (I like this more than the actual shape itself!):Chapter 11 - Disintegrating Fabric 20

Disintegrating Fabric 1

Ways to disintegrate fabric…

Image 1 – Fraying the edge:Chapter 11 - Disintegrating Fabric 1

Image 2 – Fraying the edge and the inner:Chapter 11 - Disintegrating Fabric 2

Image 3 – Cutting into the square and fraying:Chapter 11 - Disintegrating Fabric 3

Image 4 – Fraying inside and outside of the fabric shape:Chapter 11 - Disintegrating Fabric 4

Image 5 – Cutting into the square and fraying:Chapter 11 - Disintegrating Fabric 5

Image 6 – The piece shown in Image 5 but folded (the ‘windmill’ from the paper experiments):Chapter 11 - Disintegrating Fabric 6

Image 7 – Close up of the ‘windmill’ showing the form created:Chapter 11 - Disintegrating Fabric 7

Image 8 – Tiny frayed squares formed into a cross:Chapter 11 - Disintegrating Fabric 8

Image 9 – Close up of mini crosses:Chapter 11 - Disintegrating Fabric 9

I did take a sequence of photographs where the bit cross slowly vanished by taking away the little crosses but the photos weren’t terribly successful.