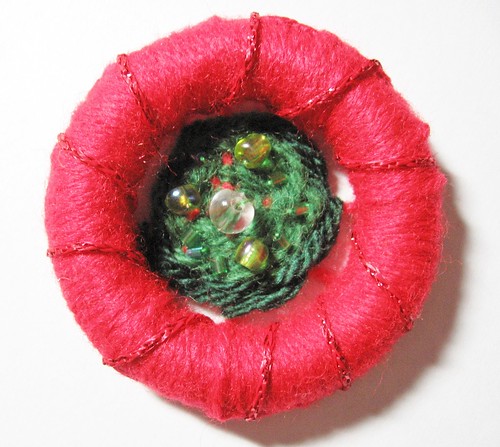
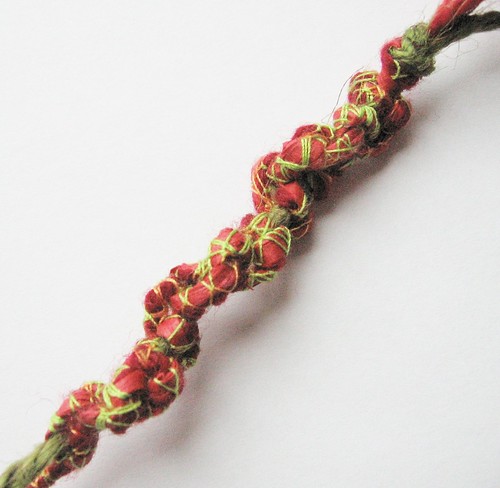
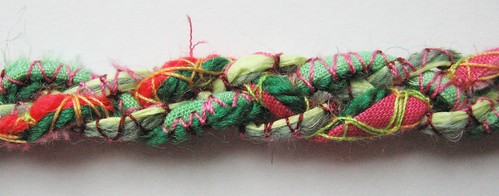
So with the fabric and yarn prepared it was time to stitch –huzzah! I’m a big fan of running stitch. I remember back to my level 2 C&G where I made a couple of kanthas. So I decided to begin with spirals of running stitch.
Image 1:
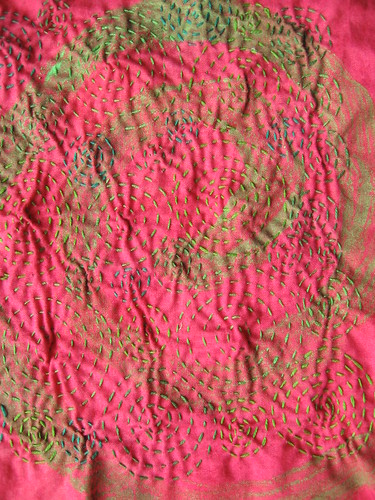
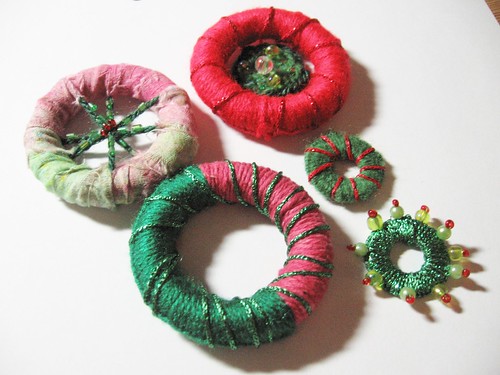
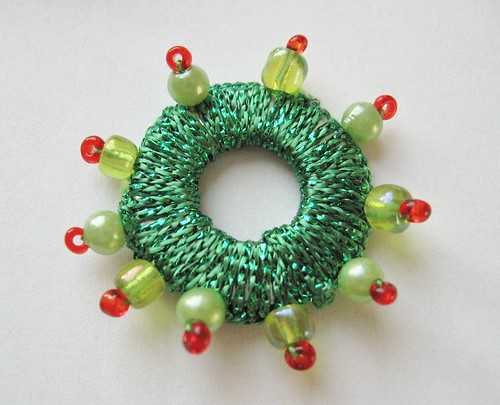
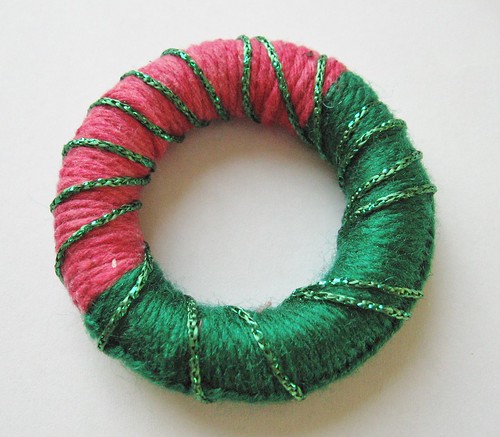
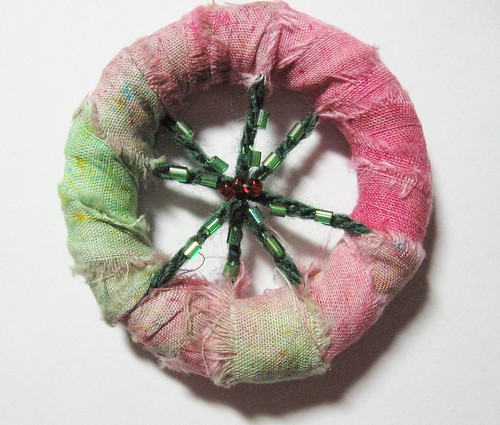
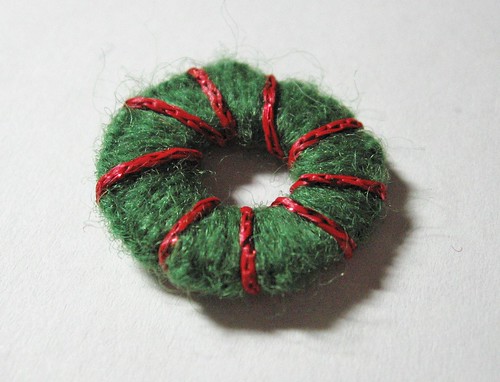
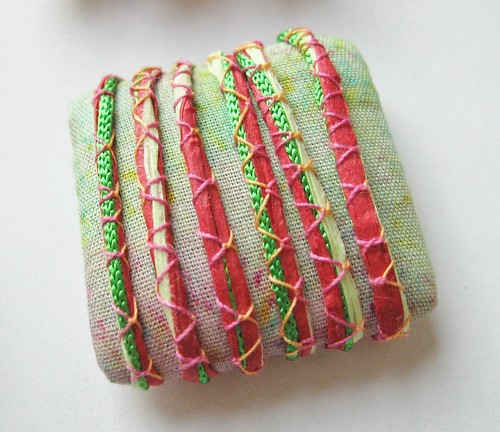
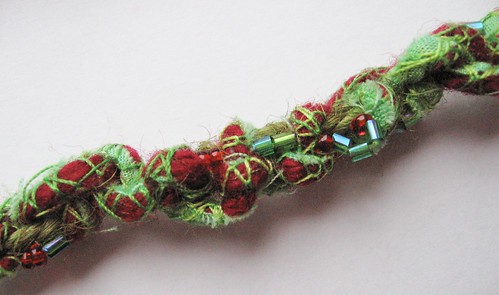
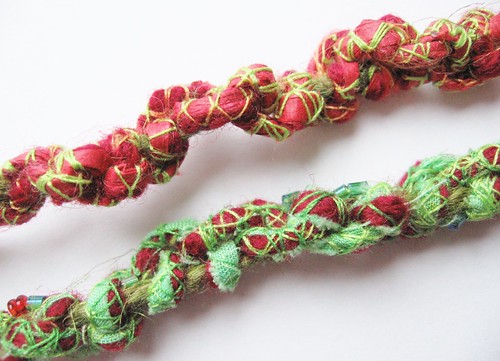
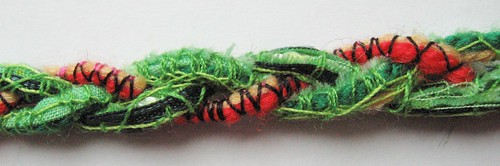
Image 2 – couching, running stitch and blanket stitch with different yarns:

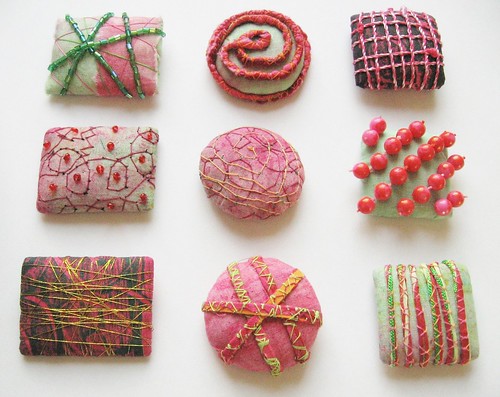
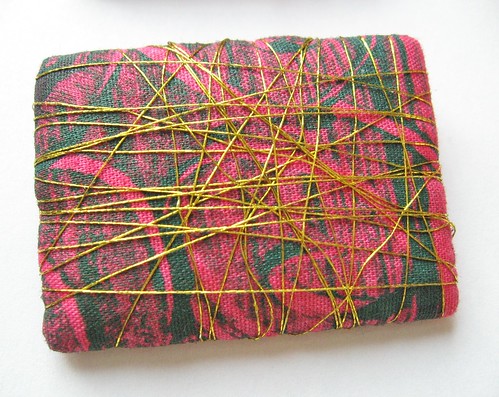
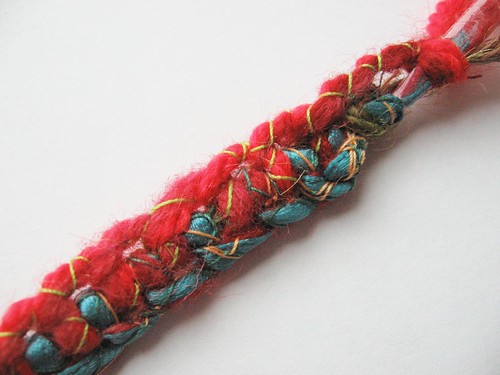
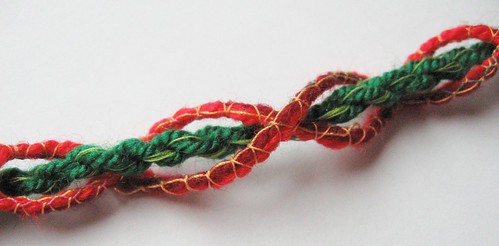
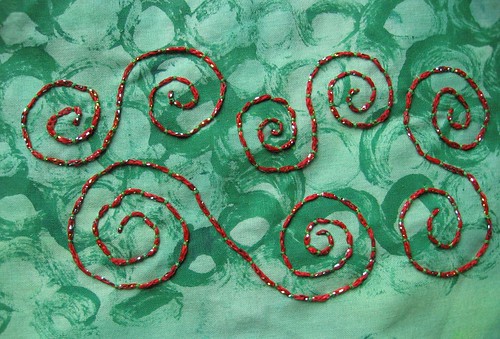
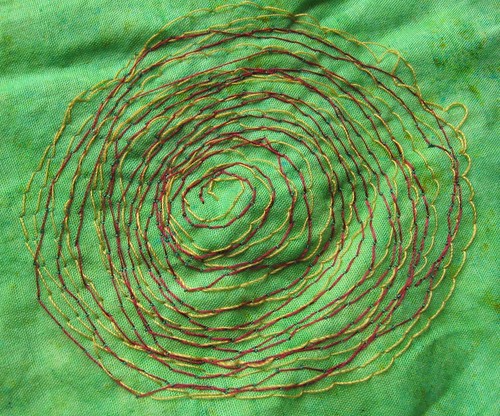
Image 3 – couching sparkly yarn on a monoprinted fabric:
I have two sewing machines both of which get the hump whenever I try to free machine on them. They become a bit like a dog wearing a medical cone collar when I put a darning plate on them (I can’t drop the feed dogs). They become moody and refuse to do what you want. I picked the less stroppy machine and managed to talk it into at least trying.
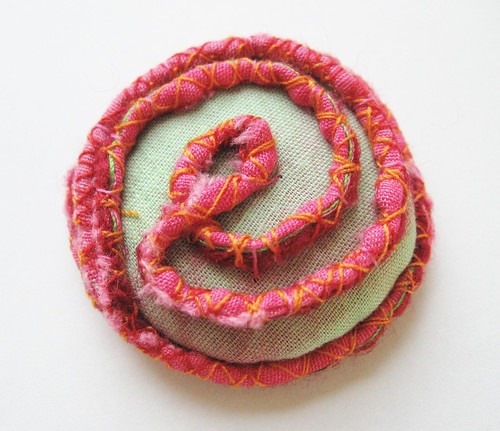
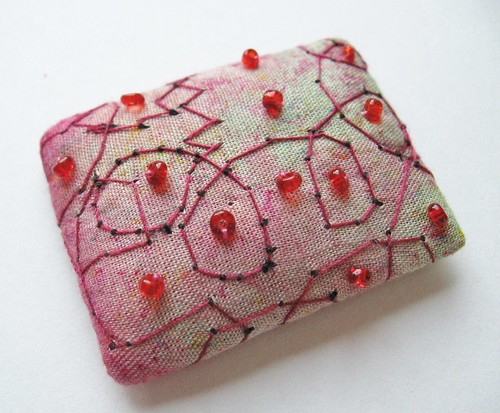
Image 4:

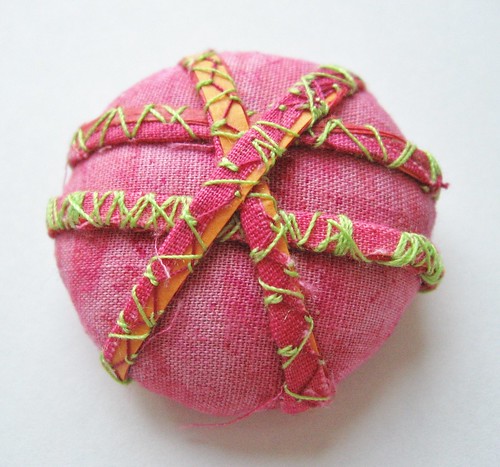
Image 5:

You might have spotted that I don’t have a foot. My machine didn’t come with one and the instructions for free machining in the manual don’t comment on the safety aspect at all! It took all my concentration but I (mostly) managed to keep hold of the hoop with both hands and not get a pierced finger. I have done free machining so I realise going faster is better but as you can see from the stitching here I took it slowly as otherwise the machine says “woah! no way!”. The results are pretty rubbish but I rejoiced that the machine vaguely did it.
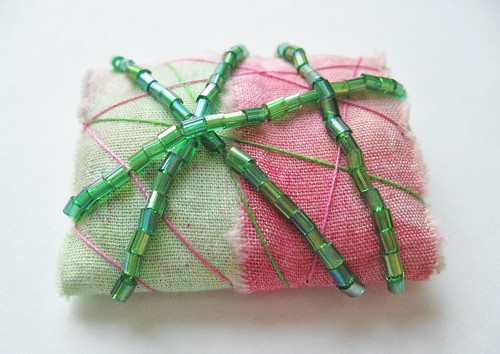
Image 6:
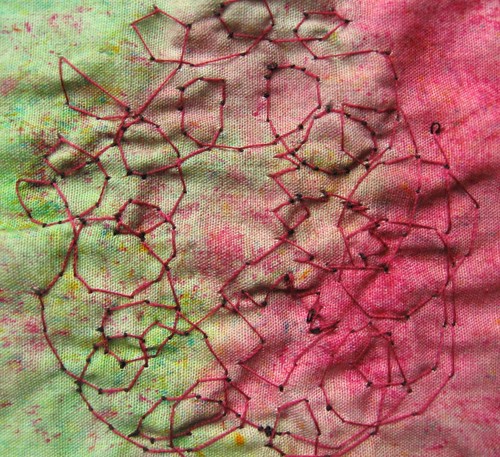
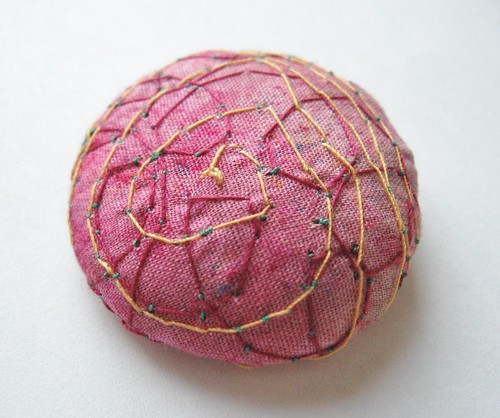
Image 7 – a few spiral attempts. They started out well but degraded as time wore on:
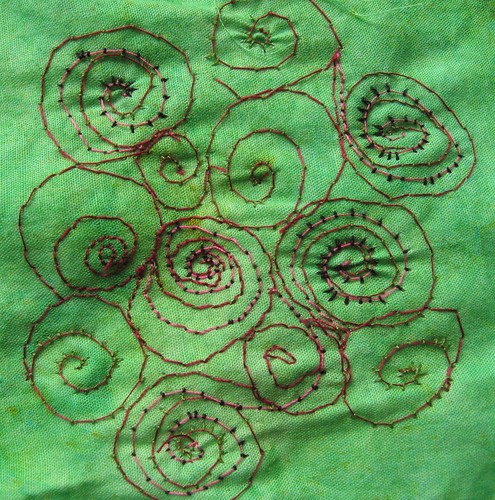
Image 8 – I secretly like the bobbin thread looping through. I did try all sorts of tension combinations (and checked the bobbin tension) but alas I always ended up with loopy bits after a while. I embrace the loopy. Sometimes you have to):
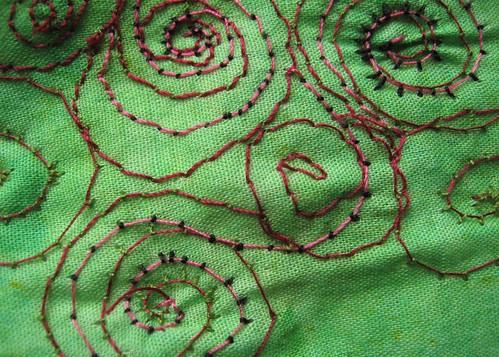
Image 9 – the next one started out quite well (or so I thought):

Image 10 – But when I turned over it wasn’t so splendid. I quite like like the loopy bits though!:

Image 11 – I carried on regardless (but won’t show the back as it was a dreadful mess and the needle kept getting caught and at one point got stuck in the darning plate!):
I had a conversation with Siân at the summer school about machine embroidery. I know that I enjoyed it when I’ve done it previously (on a lovely workhorse machine!) but my machines make it a painful experience I try to avoid wherever possible.
Having said that…. my main machine took to cording like a duck to water! More about that next.