Sunday 21 January 2018

Chapter 5–Drawn Thread Work

Pulling out threads from fabric is addictive.  I made a lot of samples because I couldn’t stop.  This post shares some with you!

5.1:  Withdrawing threads in different directions

Drawn threads

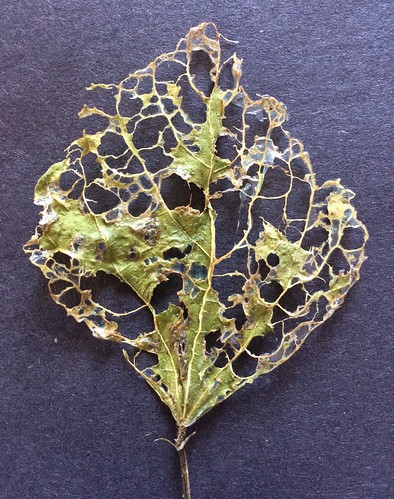
5.2:  Withdrawing threads from scrim – it’s jolly tricky!  But very satisfying,

Chapter 5 - Drawn Threads

5.3:  Withdrawing threads from scrim – it gets quite delicate. 

Chapter 5 - Drawn Threads

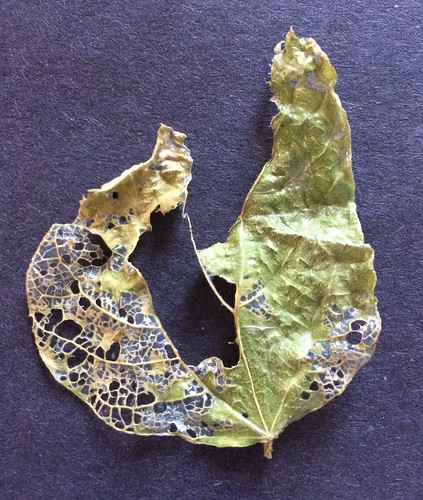
5.4:  Withdrawing threads from scrim.

Chapter 5 - Drawn Threads

5.5:  Withdrawing threads from scrim.

Chapter 5 - Drawn Threads

5.6:  Withdrawing thread from scrim and then displacing some threads

Drawn threads

5.7:  Close up of displaced threads.

Drawn threads

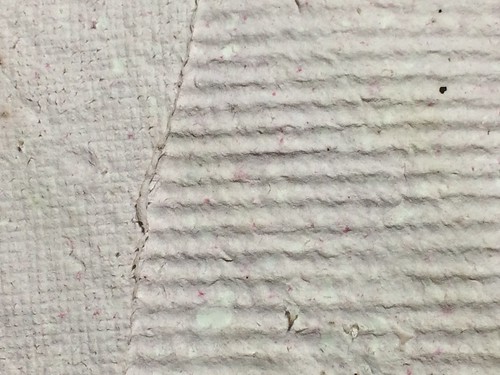
5.8:  Displaced threads without fulling withdrawing any (using linen).  This was jolly satisfying, like ‘blurring’ the fabric.

Chapter 5 - Drawn Thread Work

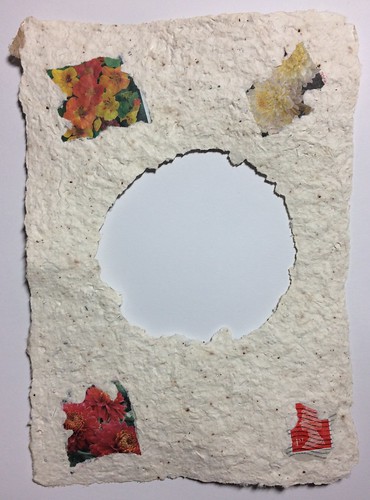
5.9:  On one side I pulled threads into little loops and on the other side I (a) pulled threads out fully and wove some back in the voids, and (b) I didn’t pull the threads out completely and wove them back in.

Chapter 5 - Drawn Thread Work


5.10:  Close up of a little patch of loose weave that was created from pulling the threads into loops.

Chapter 5 - Drawn Thread Work


5.11:  Threads fully withdrawn and then replaced with bundles of thread from a different piece of fabric contrasting in colour.

Chapter 5 - Drawn Threads

5.12:  Threads withdrawn and some woven back in.

Drawn threads

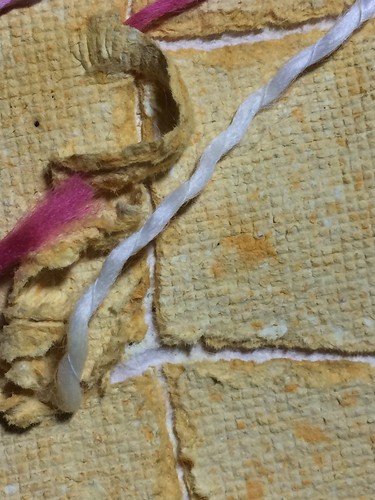
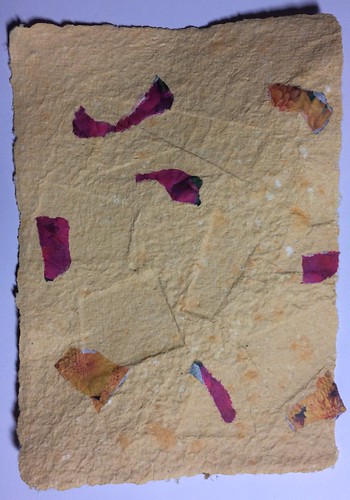
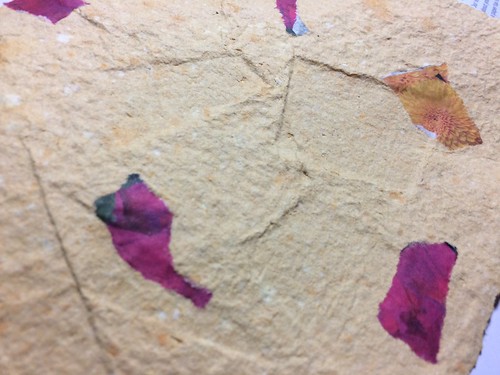
5.13:  Weave threads pulled from a different piece of fabric (which was coloured with blackberries) and woven into a piece of linen which was dyed with nasturtium flowers.

Drawn threads

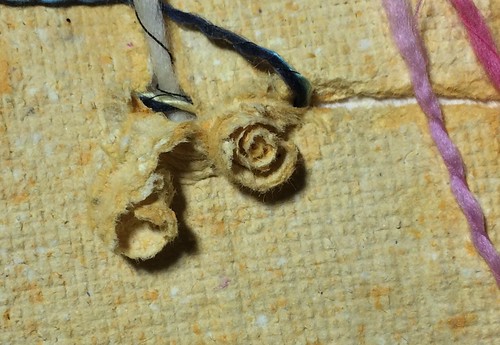
5.14:  Weave threads from different pieces of fabric added to the grid with withdrawn threads looped and tied into a knot.

Drawn threads


5.15: Threads from different fabric woven around a grid.

Drawn threads

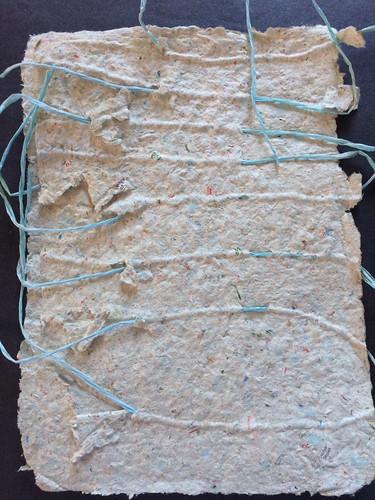
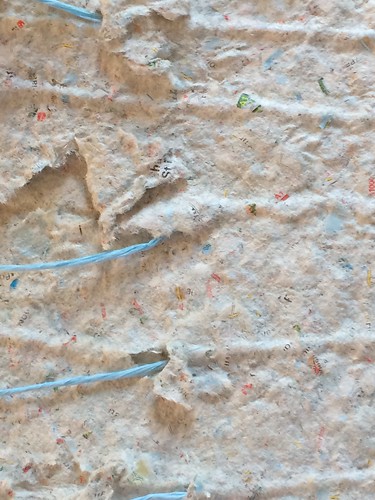
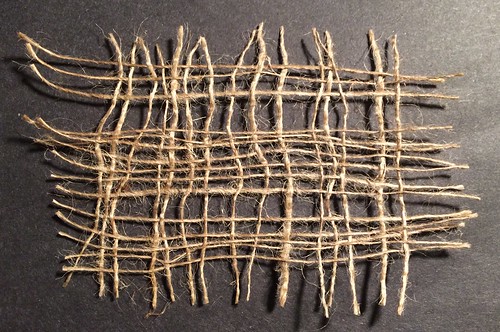
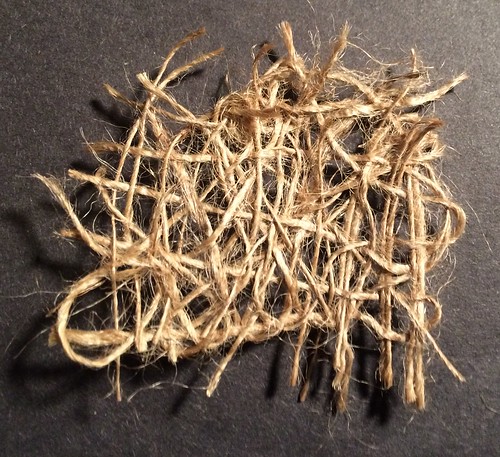
5.16:  Threads withdrawn from jute scrim.  The fabric already has a loose weave so it is quite delicate

Chapter 5 - Drawn Threads with Hessian

5.17:  Some threads pulled from jute scrim with the remaining ones being moved around.

Chapter 5 - Drawn Threads with Hessian

5.18:  Threads withdrawn and woven back in at different angles.

Chapter 5 - Drawn Threads with Hessian

5.19:  Threads withdrawn and then woven back in in a pattern

Chapter 5 - Drawn Threads with Hessian

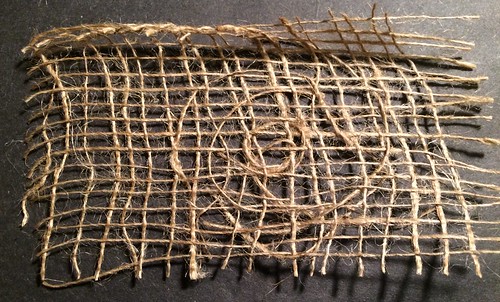
5.20:  Threads withdrawn and woven back in a haphazard fashion.

Chapter 5 - Drawn Threads with Hessian

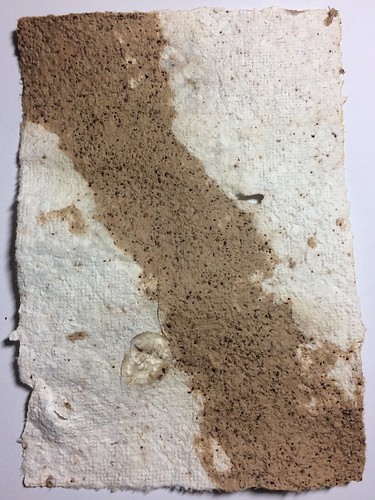
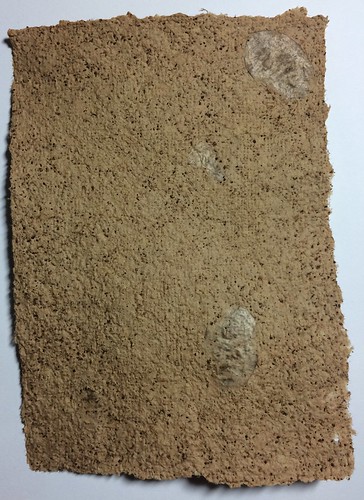
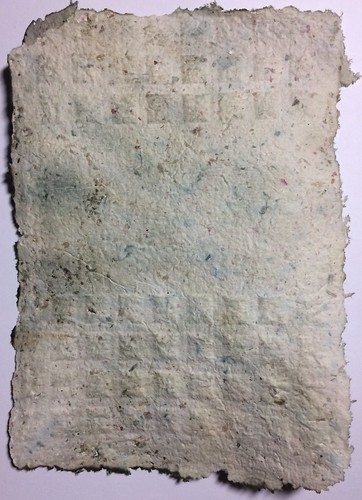
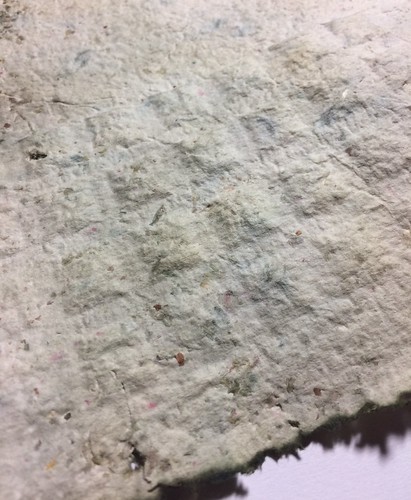
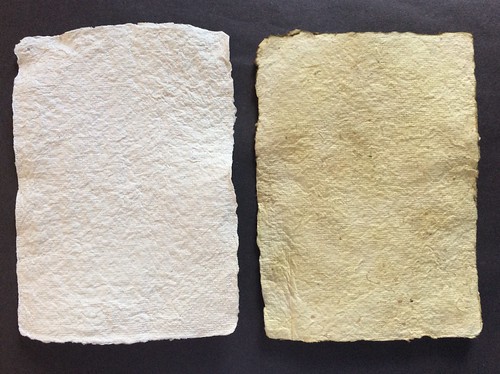
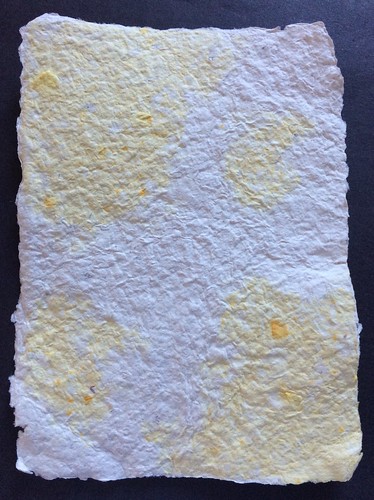
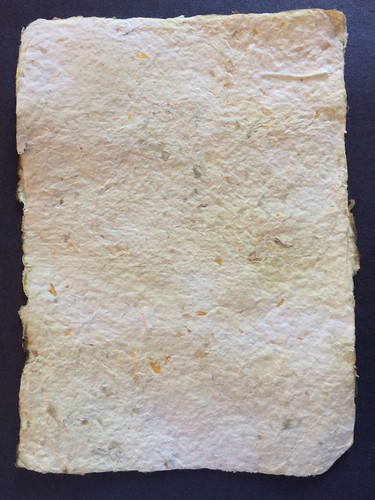
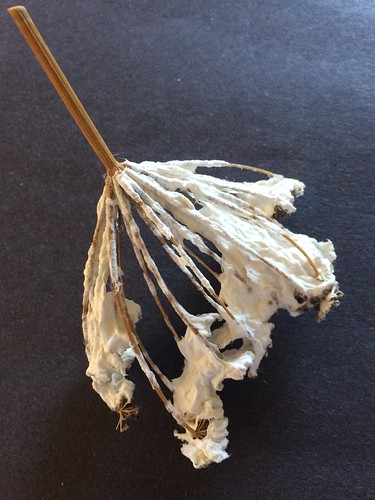
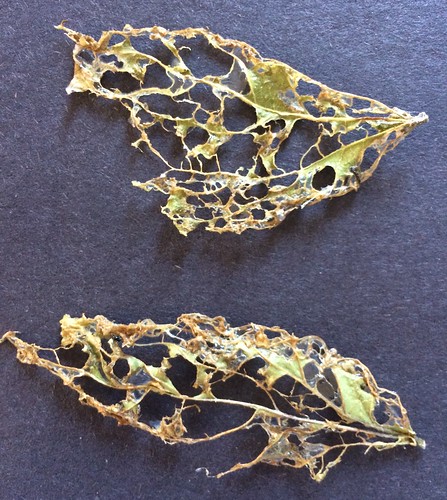
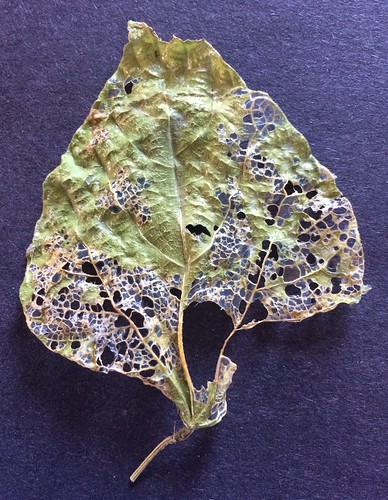
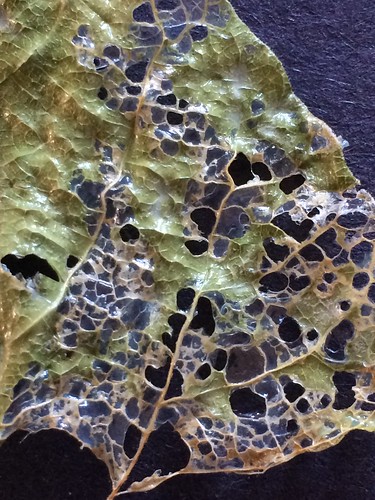
I couldn’t resist and all of the jute samples ended up with paper pulp on them… results to be shared in a later post!

Saturday 20 January 2018

Chapter 4–Paper Making Session 2

Today I played with paper pulp and grids and am very excited about my results – but I’ll tell you about that another day!  A week ago I made some more paper sheets and this post shares them with you. 

Image 4.15:  A mug was placed in the middle of the frame and paper pulp was poured around it.  Pieces of plant catalogue were placed in the pulp before it was pressed to see how it adheres. They are well ‘stuck’ to the paper.

Chapter 4 - Papermaking


Image 4.16:  ‘A’ shapes were cut from corrugated card and placed onto the pulp sheet before it was pressed.  I took one off after drying to reveal the ridges.  The reverse of the sheet is also ribbed. 

Chapter 4 - Papermaking       

Image 4.17:  Close up of peeled area showing the ridges from corrugated card and also the grid from the screen. 

Chapter 4 - Papermaking


Image 4.18:  A white piece of paper was made first, then threads arranged over it to then be covered by a yelow sheet.  After it was dry I pulled some of the threads.

Chapter 4 - Papermaking


Image 4.19:  Pulling the threads made lovely little coils of paper.

Chapter 4 - Papermaking


Image 4.20:  The tears reveal the white paper below.  The edges of the tears aren’t very ragged which suprised me – the paper pulp must have been reasonable fine.

Chapter 4 - Papermaking


Image 4.21:  The brown pulp (brown paper, envelopes and tea leaves) was added first across the screen and then the white paper added afterwards.  Some Honesty seed heads were poked into the pulp before pressing.

Chapter 4 - Papermaking


Image 4.22:  The pulp for this paper was made using brown paper, envelopes and tea leaves.  There are some Honesty seed heads on the surface.  They are ‘stuck’ fast.

Chapter 4 - Papermaking


Image 4.23:  The paper pulp was pressed onto a plastic ‘in tray’ with square-shaped holes.  The impression worked out better than I thought it would.

Chapter 4 - Papermaking


Image 4.24:  Close up of the square patten from the in-tray.

Chapter 4 - Papermaking


Image 4.25:  I made an ‘A’ shape using garden mesh and wire which I then dipped in yellow pulp (paper, egg carton and a few drops of yellow acrylic ink) and pressed onto a j-cloth.  I am really pleased with how it came out.

Chapter 4 - Papermaking


Image 4.26:  I made a basic piece of paper and tipped it out onto a surface which had cardboard shapes placed under it.  When the paper was pressed onto the surface the shapes left impressions.  The pink/yellow papers are from a plant catalogue.

Chapter 4 - Papermaking


Image 4.27:  Close up of the cardboard shape impressions.

Chapter 4 - Papermaking

Sunday 7 January 2018

Chapter 4–Paper Making Session 1

I started chapter 4 by making a handful of samples.  I will confess I made these quite some time ago (and they went with me to the 2017 Summer School) but have only just come to blog about it.  I’ve made paper before so the underlying technique is not new to me but there are lots of ideas in the chapter so it’s very exciting to me!  Unfortunately drying space is quite limited in my little flat.  I dry the by paper hanging them on a clothes horse but I can only use one of these at a time because:

1) I can only fit one clothes horse in the bath (for the first few hours when there is a lot of dripping)

2) I don’t want lots of damp stuff hanging around as it’s not good for your health!

With this in mind there will be a few sessions of paper making.  It’s frustrating because once you get started it’s addictive but when the space has run out you have to stop!

4.1:  Paper sheets hanging up to dry

Untitled

Here are the samples I made in the first session.

4.2:  Basic paper  - made from copier paper to give one uniform colour per sheet.  These pulps became the basis for many of the other samples.

Paper making first efforts

4.3:  First attempt at blocks of colour – I put sections of pulp in the frame but there was a lot of merging!  Not terribly successful.  I will try this again.

Paper making first efforts

4.4:  Mixing yellow petals (from dried daffodil heads) into the blender – I blitzed for quite long so the flower pieces are relatively small and are well integrated into the pulp. 

Paper making first efforts

4.5:  Summer School 2016 – this piece is made from map pages (of the Cotswolds) and grasses collected from the site.  The grasses are well integrated into the pulp. 

Paper making first efforts

4.6:  Map pages, copier paper and paper string (work in progress) – The string was blue to mirror the motorways in the maps.  I laid them down and then added another pulp page on top.  I squidged (technical term!) them together.

Untitled

4.7:  Map pages, copier paper and paper string – the page was ultimately quite thick (with the two layers of pulp). I pulled the string up to tear the page.

Paper making first efforts

4.8:  Map pages, copier paper and paper string (close up) – I like how the tears create little flaps in the paper and how the un-revealed string under the pulp creates a mound.

Paper making first efforts

4.9:  Grasses pressed into a papersheet in the frame – I did this before I turned it out and pressed out the water.  The reverse side (not shown) has little mounds where the pulp was pressed over the grasses.  The grasses have remained embedded in the paper quite well (which surprises me as I thought it would just fall off when it was dry).

Paper making first efforts

4.10:  Fibres in pulp – fibres were pushed into the pulp in the frame (before turning out) and some pulp smooshed over the top of some areas to secure them.  I deliberately chose colours that were ‘obvious’ so i could see clearly how it worked.  Next time I will try to use thread colours that are more sympathetic to the pulp.

Paper making first efforts

4.11:  An attempt at blocks of different colour pulps and petals pressed into the pulp – my colour blocking, as with the other attempt, all merged together without distinct edges.  Next time I will use two very obviously different colours!  The petal have stayed well secured once dry.

Paper making first efforts

4.12:  Smaller petal pieces sprinked on top – this is a much more delicate finish than the large pieces in 4.11.

Paper making first efforts

These paper samples were more like cardboard than paper!  I need to work out quanities to try and make the samples thinner.  I also am going to try and do some more colour blocking to see if I can be a bit more successful.

Finally I couldn’t resist dipping a fennel seed head (from my allotment) into the pulp!  After it dried it gave a really interesting structure with the pulp trapped.  I’d like to cut off the individual groups of seed heads on another one and press them into a pulp sheet but unfortunately I just cut down some flower heads and composted them before thinking of doing this! 

4.13:  Fennel seed head dipped in pulp

Paper pulp dipping

4.14:  Fennel seed head dipped in pulp

Paper pulp dipping

Chapter 3–More Skeleton Leaves

My obsession with leaves continues… here are some more skeleton leaves.  I have painted them with PVA glue to try and preserve the a little.  I’d like to dip some into paper pulp.

3.15:  Skeleton leaves coated with PVA glue

Skeleton leaves preserved with PVA glue

3.16:  Skeleton leaf coated with PVA glue - I like how the glue has formed a skin across some of the holes.

Skeleton leaves preserved with PVA glue

3.17:  Skeleton leaf coated with PVA glue

Skeleton leaves preserved with PVA glue

3.18:  Skeleton leaf coated with PVA glue

Skeleton leaves preserved with PVA glue

3.19:  Skeleton leaf coated with PVA glue

Skeleton leaves preserved with PVA glue

3.20:  Skeleton leaf coated with PVA glue

Skeleton leaves preserved with PVA glue

3.21:  Skeleton leaf coated with PVA glue

Skeleton leaves preserved with PVA glue

3.22:  Skeleton leaf coated with PVA glue

Skeleton leaves preserved with PVA glue