I started my resolved piece by making a base piece of blue fabric scraps stitched together.
Image 1 – Blue base

Then I layered up yellow fabric scraps holding them down with pins (the fabric is on a piece of corrugated cardboard so that I could stab the pins into it) .
Image 2:

Image 3:

After putting down a few layers of yellow scraps I then placed six 8x8cm squares of fabric on top…
Image 4:

…and then covered the entire piece with gold organza and tacked it all into place.
Image 5:

I traced my chosen pattern onto tissue paper, tacked this onto the piece and stitched with my sewing machine (small running stitch).
Image 6:

After all the lines were stitched I carefully removed the tissue paper.
Image 7:

With all the preparation done I started slashing!
And then stopped.
I decided halfway through that I didn’t like what I was doing. I left it a while and returned to it today in a far better mood about it! So I carried on slashing!
Image 8 – The resolved piece:
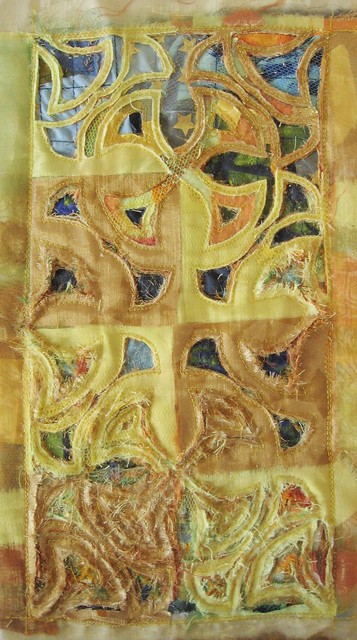
Image 9 – The bottom left part of the piece which is very textured and the shapes are difficult to see clearly:
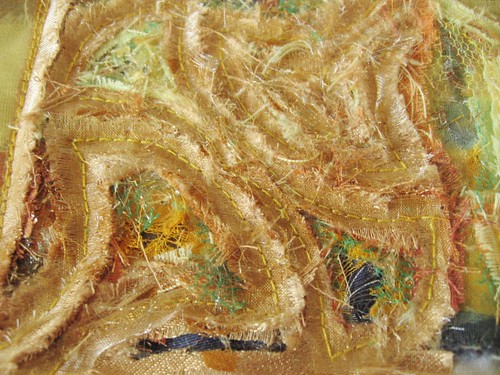
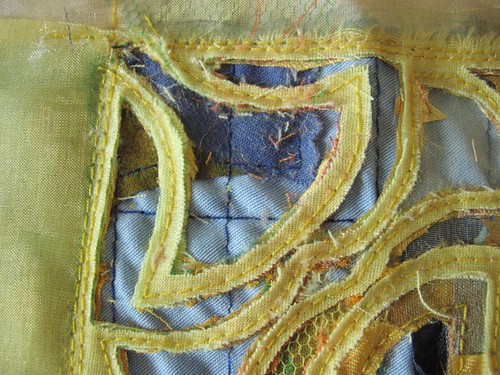
Image 10 – The top right corner where the layers are cut away to show clear distinction in shape:


No comments:
Post a Comment