Today I played with paper pulp and grids and am very excited about my results – but I’ll tell you about that another day! A week ago I made some more paper sheets and this post shares them with you.
Image 4.15: A mug was placed in the middle of the frame and paper pulp was poured around it. Pieces of plant catalogue were placed in the pulp before it was pressed to see how it adheres. They are well ‘stuck’ to the paper.
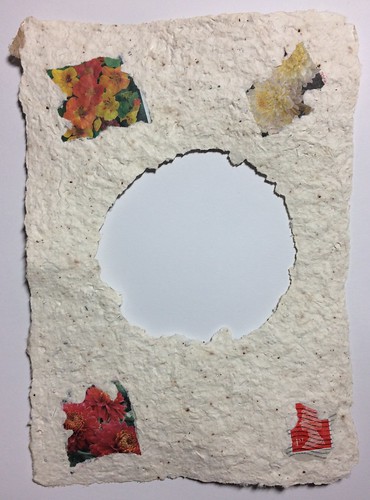
Image 4.16: ‘A’ shapes were cut from corrugated card and placed onto the pulp sheet before it was pressed. I took one off after drying to reveal the ridges. The reverse of the sheet is also ribbed.

Image 4.17: Close up of peeled area showing the ridges from corrugated card and also the grid from the screen.
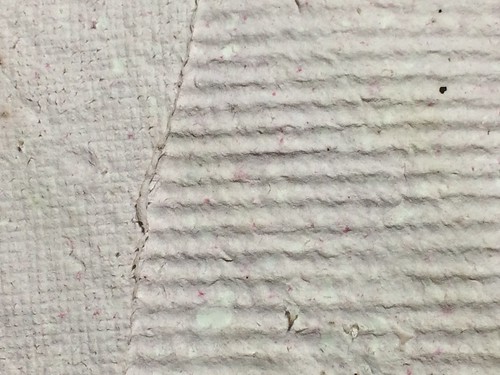
Image 4.18: A white piece of paper was made first, then threads arranged over it to then be covered by a yelow sheet. After it was dry I pulled some of the threads.

Image 4.19: Pulling the threads made lovely little coils of paper.
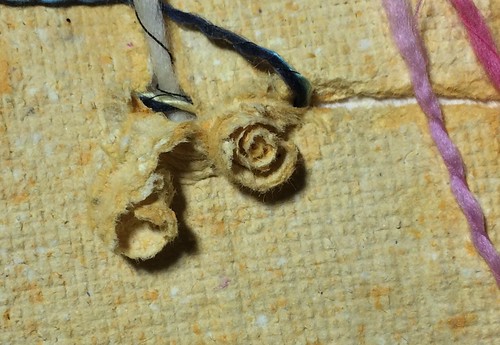
Image 4.20: The tears reveal the white paper below. The edges of the tears aren’t very ragged which suprised me – the paper pulp must have been reasonable fine.
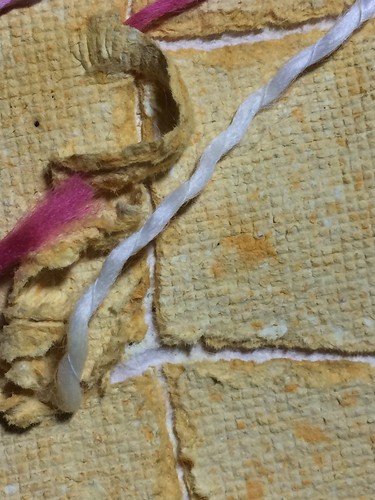
Image 4.21: The brown pulp (brown paper, envelopes and tea leaves) was added first across the screen and then the white paper added afterwards. Some Honesty seed heads were poked into the pulp before pressing.
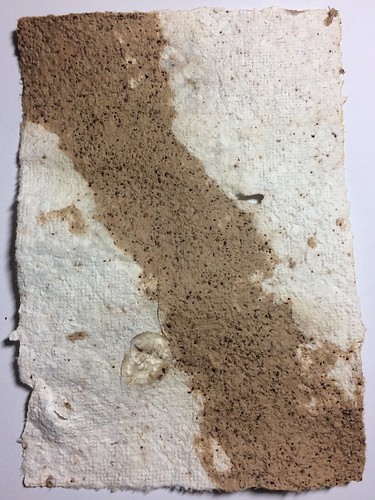
Image 4.22: The pulp for this paper was made using brown paper, envelopes and tea leaves. There are some Honesty seed heads on the surface. They are ‘stuck’ fast.
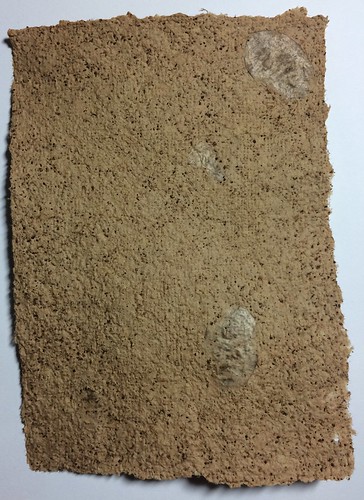
Image 4.23: The paper pulp was pressed onto a plastic ‘in tray’ with square-shaped holes. The impression worked out better than I thought it would.
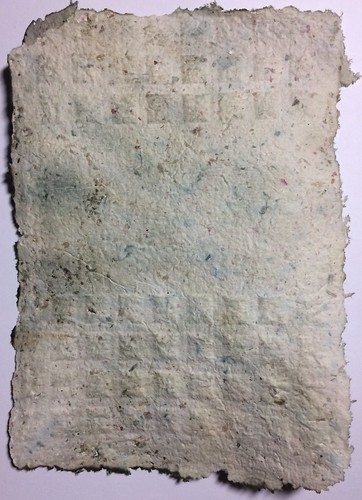
Image 4.24: Close up of the square patten from the in-tray.
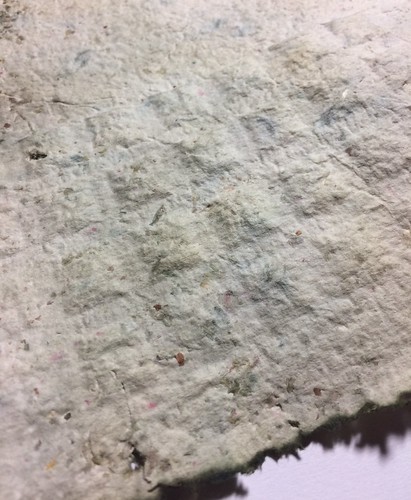
Image 4.25: I made an ‘A’ shape using garden mesh and wire which I then dipped in yellow pulp (paper, egg carton and a few drops of yellow acrylic ink) and pressed onto a j-cloth. I am really pleased with how it came out.
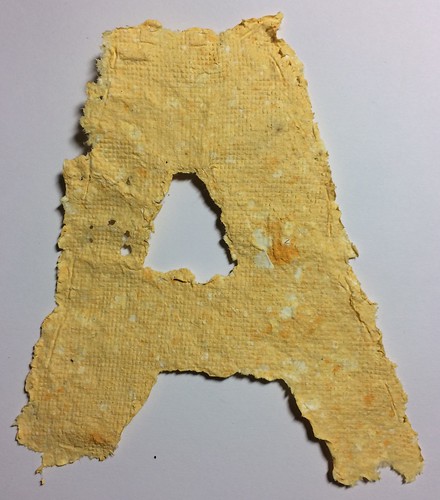
Image 4.26: I made a basic piece of paper and tipped it out onto a surface which had cardboard shapes placed under it. When the paper was pressed onto the surface the shapes left impressions. The pink/yellow papers are from a plant catalogue.
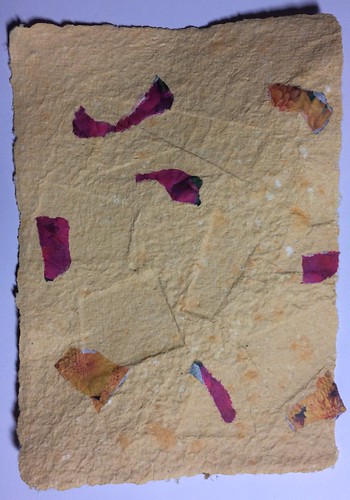
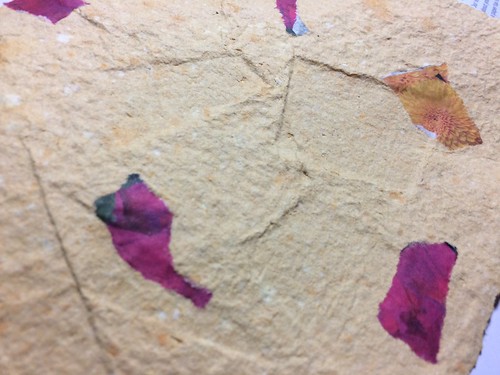
Image 4.27: Close up of the cardboard shape impressions.


No comments:
Post a Comment