Sunday, 5 July 2015

Chapter 10/11 - Resolved Piece

As with most of my work I spent a lot of time thinking about what I was going to make without actually achieving a thing!  I contemplated making a brooch, a facinator, a headband and a crazy hat.  In the end I settled on a headband/facinator as I had recently been to a wedding and found that I wished I had bought one for the event!


I stayed with the module colours of orange/red and green and decided to make the fabric that I would use from felt.

Image 1 - Design worksheet:
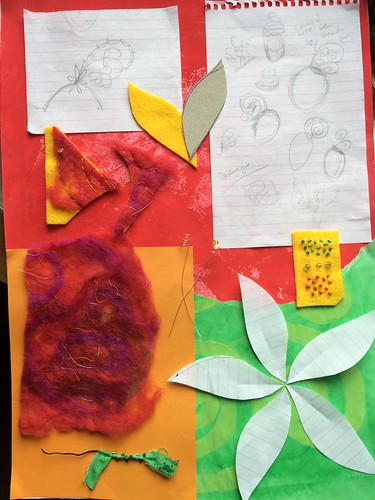
Headpiece


Image 2 - Carding the felt to blend together yellow and orange:

Module 3 Chapter 10


Image 3 - Laying out the felt tops on a tray (I decided to 'do' my felting the 'quick and dirty' way which involved covering it over with a piece of net, saturating with soapy water and rubbing throughly):

Module 3 Chapter 10


Image 4 - first layer on my vintage tray (ha!):

Module 3 Chapter 10


Image 5 - More layers and the addition of threads:

Module 3 Chapter 10


Image 6 - Felt with silver thread in:

Module 3 Chapter 10


Image 7 - Felt with threads and sequins:

Module 3 Chapter 10


Image 8 - The felt I chose to use:

Headband


Image 9 - Hand embroidery on felt (which has been backed with manufacturered yellow felt):


Image 10 - Petal templates overlaid onto felt:


Image 11 - Curling silver wire:
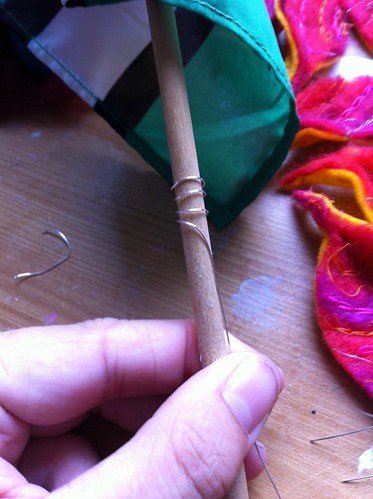


Image 12 - Cut petals and wires with beads held together (before sewing) to see what they looked like:
Headband 


Image 13 - I considered revertering to a brooch for a while but decided a headband would be better.  Here I have temporarily attached spirals of wire (which were actually from an old notebook - wrapped in green fabric (from earlier in the module) and silver wire with beads sewn on) using thick wire and I then I wrapped them with thread and sewed them onto the band:
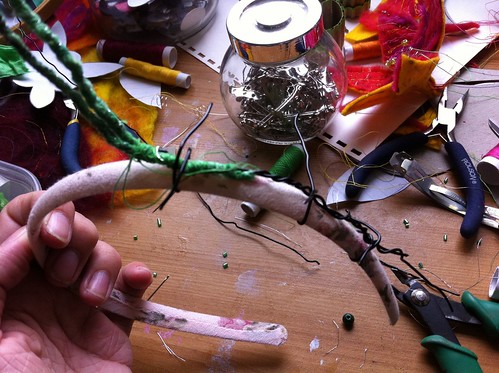


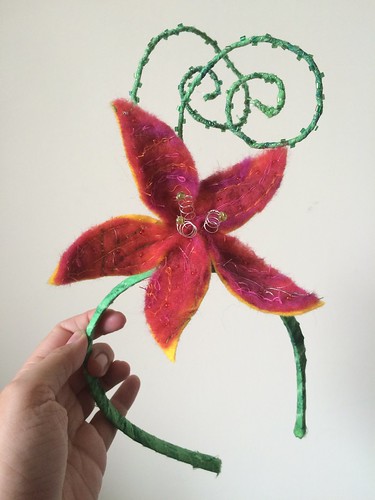
Image 14 - Finished headband/fascinator:
Headband


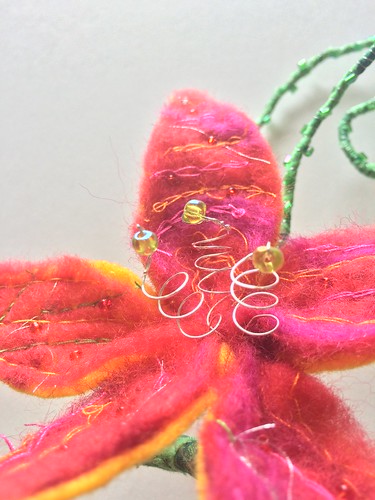
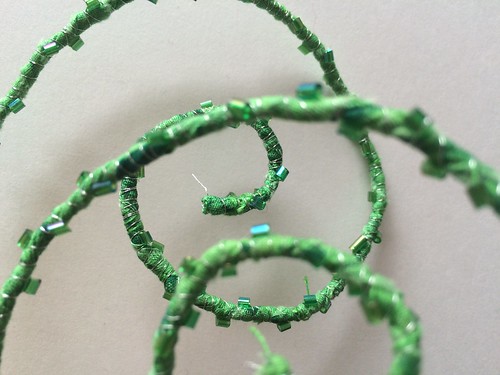
Image 15 - Close up of the wire spirals:
Headband


Image 16 - The band which has been wrapped in fabric:
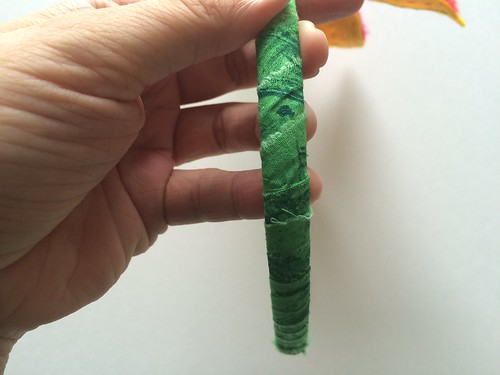
Headband


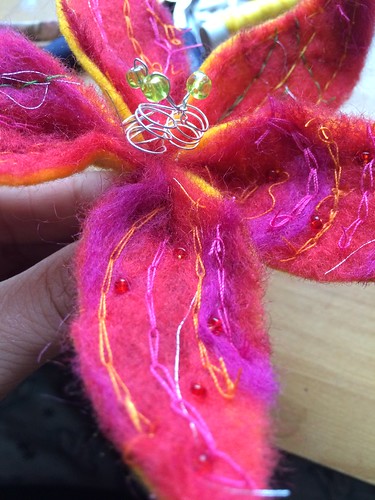
Image 17 - Close up of the flower:

Headband


Image 18 - The fascinator/headband as modelled by the lovely Emily Stevens:

Headpiece


I'm quite happy with the outcome but now I have to make a box to house my fascinator in as it's not the easiest thing to store!

Tuesday, 30 June 2015

Chapter 9 - Resolved Sample

To decide what to do for my resolved sample I made a view finder and passed it over my previous work to see if anything took my eye.

Image 1 - This is the area that I liked the best:

Module 3 Chapter 9 


Image 2 - I prepared fabric by hand sewing spirals onto some of the fabric in my colourways collection:


Module 3 Chapter 9


Image 3 - A close up of the hand sewn spirals:

Module 3 Chapter 9


Image 4 - I backed the fabric with bondaweb and cut out sections:

Module 3 Chapter 9


Image 5 - Front view of cut out backed fabric:

Module 3 Chapter 9


Image 6 -  A view of the artwork I chose to work from and the fabric shapes after they'd been laced over cardboard to give them rigidity and thickness:

Module 3 Chapter 9


Image 7 - Final resolved sample laced over board:

Module 3 Chapter 9


Image 8 - Close up of painted beed affixed with a bead and sequin at the top:

Module 3 Chapter 9


Image 9 - Close up of one section which has been wrapped with yarn (all pieced had one corded edge of red wool):

Module 3 Chapter 9


Image 10 - Close up of piece wrapped with string and sequins:

Module 3 Chapter 9


Image 11 - Close up of edge wrapped with fine wire and sequins:

Module 3 Chapter 9


Image 12 - Close up of piece with sequins on:

Module 3 Chapter 9


Image 13 - Close up of edge wrapped with knotted fabric strips:

Module 3 Chapter 9


The photographs look quite garish and I'm not sure that the faded green really works on the bright pink/red (which seems to be emphasized in the photographs!).  I tried to use up fabrics and yarn etc that I already had in the collection - if I were to do this piece again I would choose a much brigher green fabric!

Monday, 21 April 2014

Chapter 8 – Bead Sampler

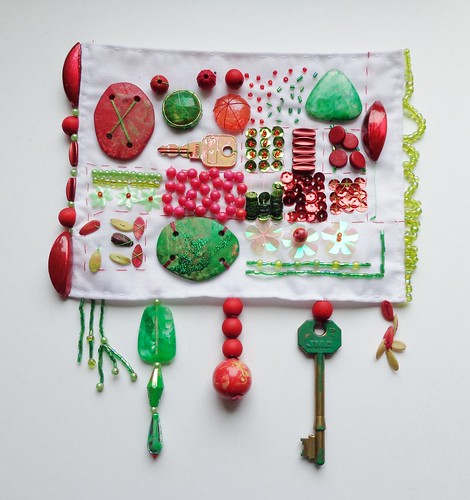
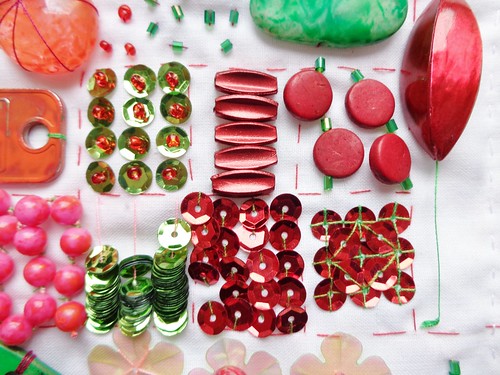
I decided to do my bead sampler on a plain white cotton (with some interfacing on the reverse to strengthen it) instead of on a dyed piece of fabric so that the beads/sequins are clear.

Image 1 – Bead sampler:

Bead Sampler

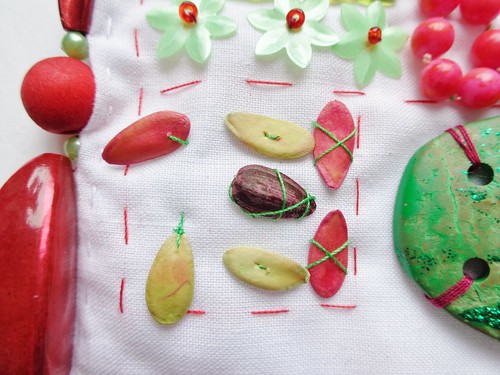
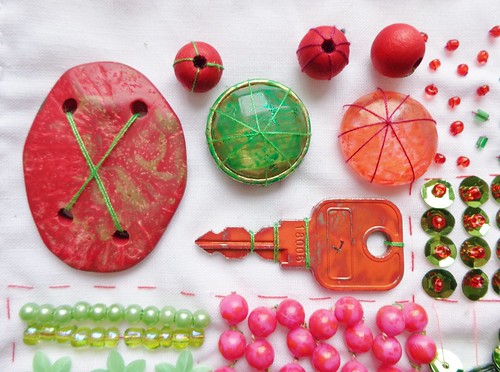
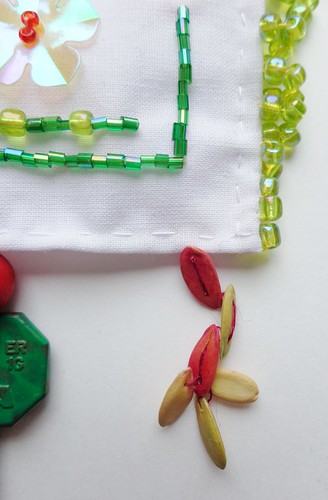
Image 2 – dyed melon seeds are easy to puncture holes in with a needle (securing with a cross stitch is not satisfactory – they keep falling out!):

Bead Sampler - dyed seeds

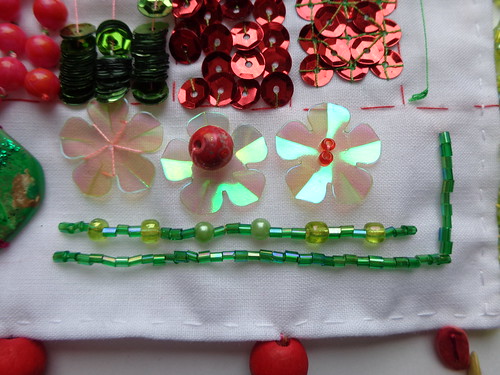
Image 3 – Sequins and seed beads:

Bead Sampler - close 1

Image 4 – Sequins sown on in different ways:

Bead Sampler - close 2

Image 5 – Trying to get objects such as keys or bits of round earrings can be awkward to secure:

Bead Sampler - close 3

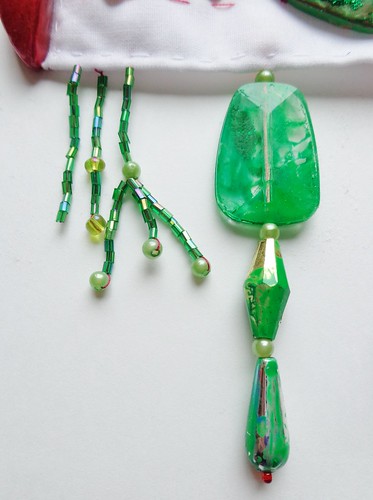
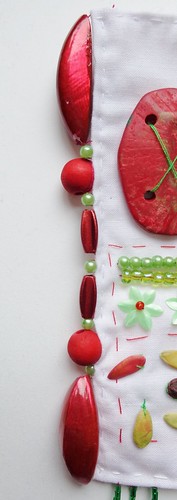
Image 6 – Edging/beaded tassels:

Bead edging - 1

Image 7 - Edging/beaded tassels:

Bead edging - 2

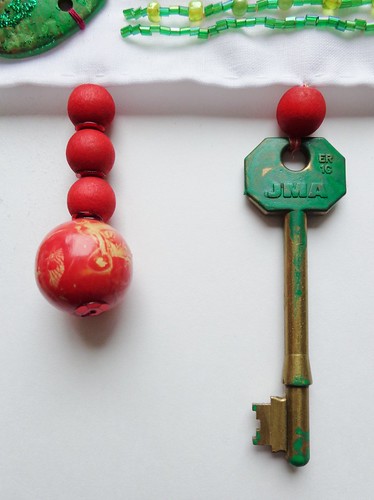
Image 8 – Dyed melon seed tassel:

Bead edging - 3

Image 9 – Edging:

Bead edging -4

Image 10 – Keeping the beads tight and inserting the needle into the edge from front to back creates a spiral effect (not very clear in the image:

Bead edging - 4 close up

Image 11 – Edging with different beads:

Bead edging 5

Chapter 8 – Toggles

Thank you to Sian for giving me a gentle nudge!  I confess I made a first batch of toggles in 2013 – it was so long ago that I completely forgot I’d made them!  So I made a second batch!  Then I found the first and I remembered why I decided to forget them.  Because I didn’t like them!  So anyway here is the first batch (even though they make me cringe for some reason).

Image 1 – First toggle batch:

First toggles

So yesterday I started again and I feel happier with the second round!

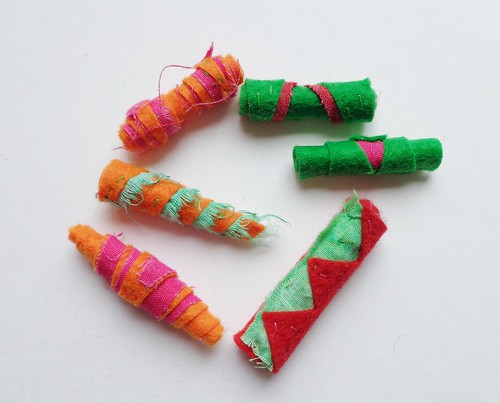
Image 2 - Second batch of toggles:

Second toggles

Image 3 – Toggle 1:

Toggle 1

Image 4 – Toggle 1 before it was rolled up:

Toggle 1 - base

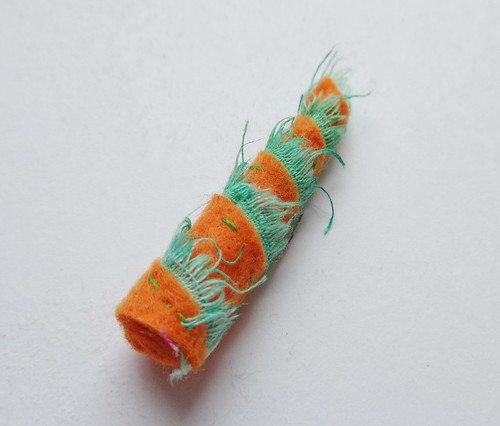
Image 5 – Toggle 2:

Toggle 2

Toggle 2 makes me think of a carrot!

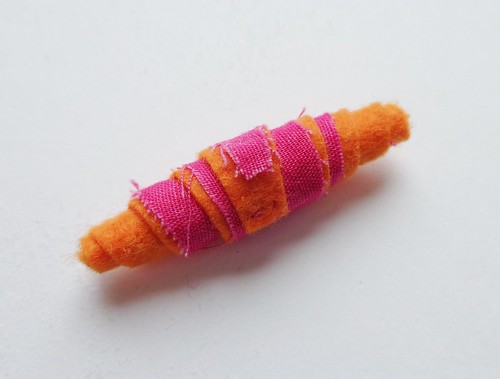
Image 6 – Toggle 3

Toggle 3

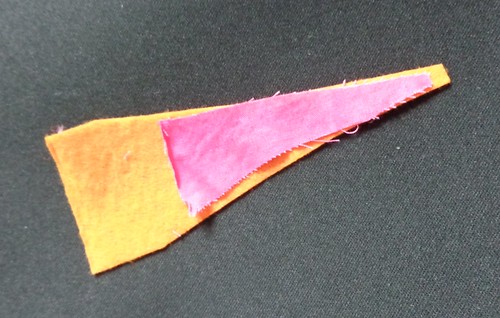
Toggle 3 makes me think of croissants!

Image 7 - Toggle 3 before it was rolled up:

Toggle 3 - base

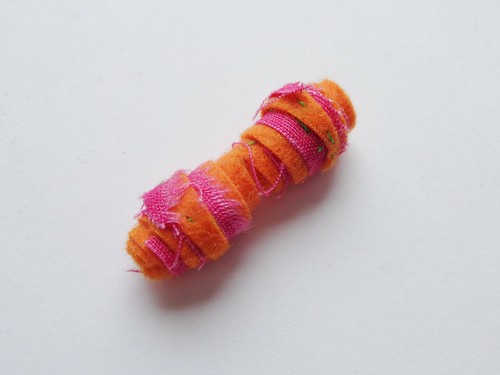
Image 8 – Toggle 4:

Toggle 4

Image 9 – Toggle 5

Toggle 5

Image 10 – Toggle 5 before it was rolled up

Toggle 5 - base

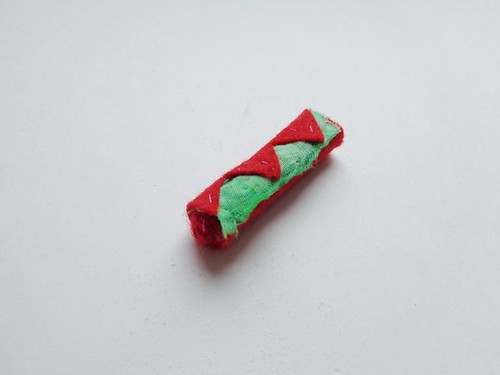
Image 11 – Toggle 6

Toggle 6

Sunday, 25 August 2013

Chapter 7 – Dorset Buttons

I tried to make Dorset buttons  didn’t do a great job although I enjoyed the process of making them regardless.

Image 1 – Have you tried to buy curtain rings lately?  It’s near impossible.  At least in my town.  So here’s what I ended up getting from Wilkinsons to try:

C&G Work - Chapter 3


Image 2 – Dorset buttons:

Dorset Buttons

Image 3 – My favourite one!  The green yarn is actually sparkly but you can’t really tell from this image.  It is wound round a washer:

Dorset Button 1


Image 4 – Wool wrapped round a wooden curtain ring:

Dorset Button 2


Image 5 – Fabric wrapped around a wooden curtain right with wool spokes adorned with beads:

Dorset Button 3


Image 6 – Wool wrapped round a wooden curtain ring.  The spokes have been woven into but it’s not very successful – the middle reminds me of too much pesto on a vegetarian pizza:

Dorset Button 4


Image 7 – A very Christmassy one.  Wool on a washer with red sparkly yarn wrapped around it:

Dorset Button 5