Sunday 10 July 2011

Chapter 3 – Tonal Effects in Machine Stitchery (c)

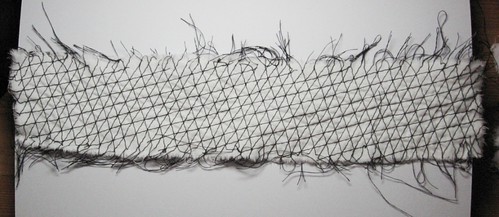
I stitched six strips of fabric which had a thin Vilene on the reverse to provide support.  (To view the images close up please click on them and they will take you to the source image). 

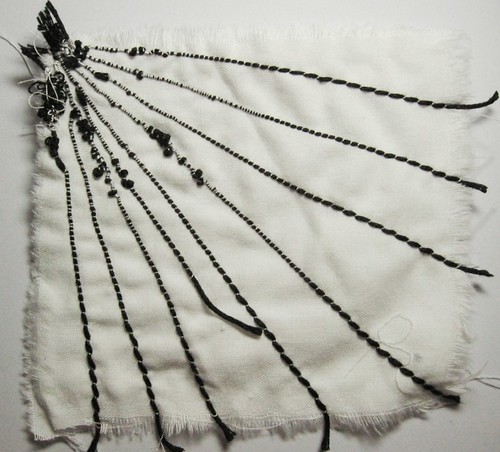
Image 1 – Fabric strips:

Chapter 3

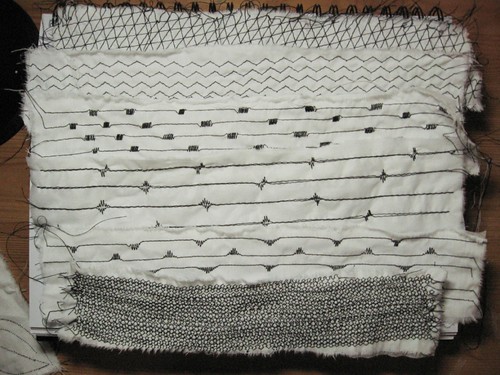
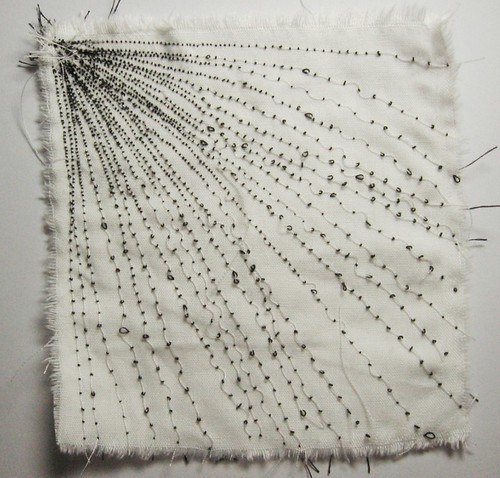
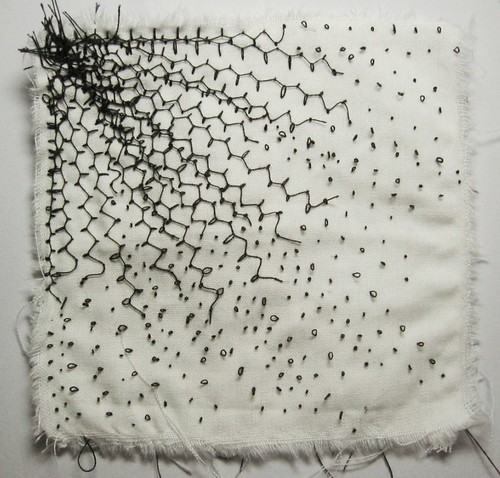
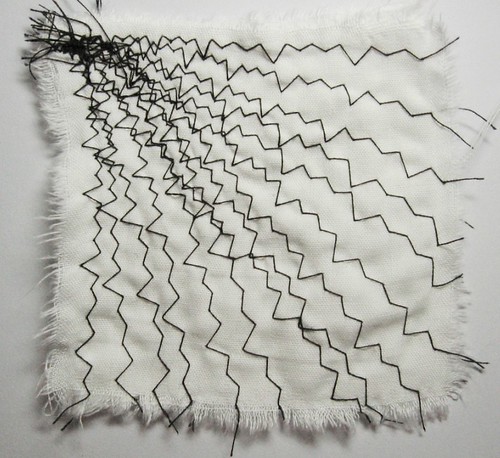
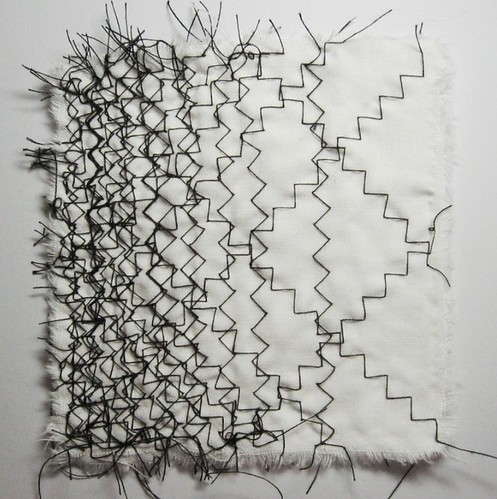
Image 2 – Straight stitch with zigzags introduced along the length:

Chapter 3

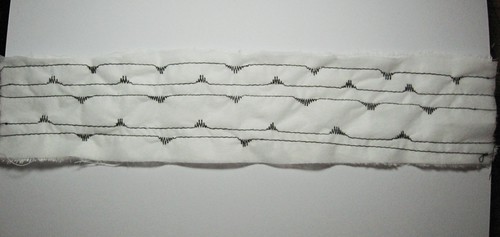
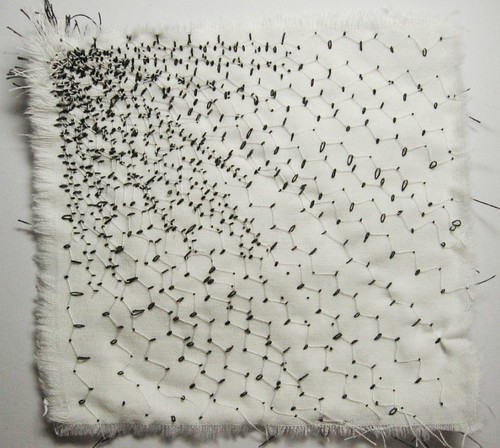
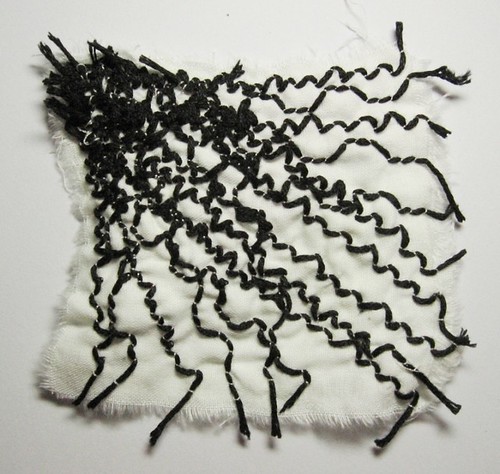
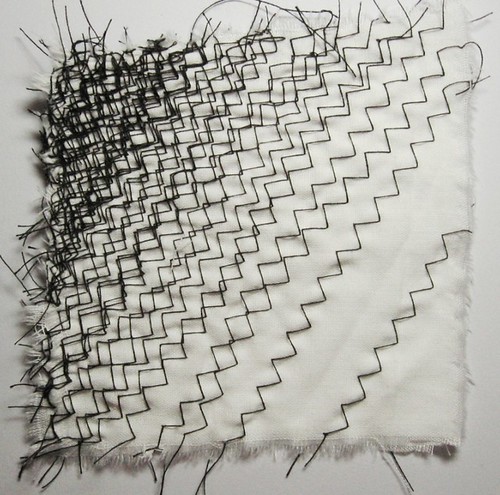
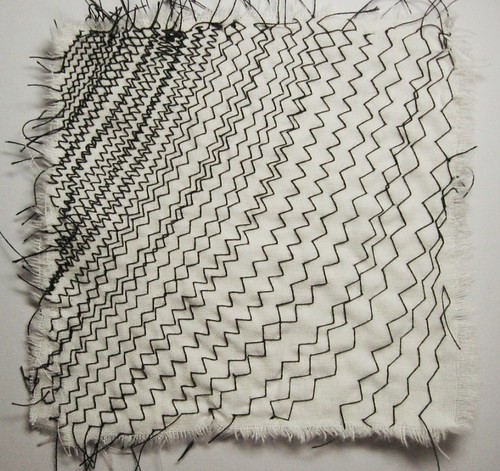
Image 3 – As above but with a second line of stitching mirroring the first:

Chapter 3

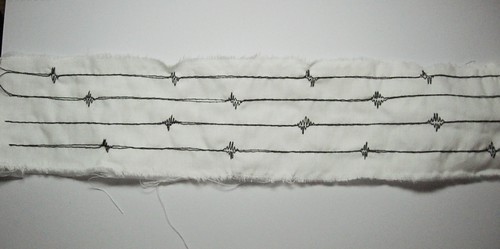
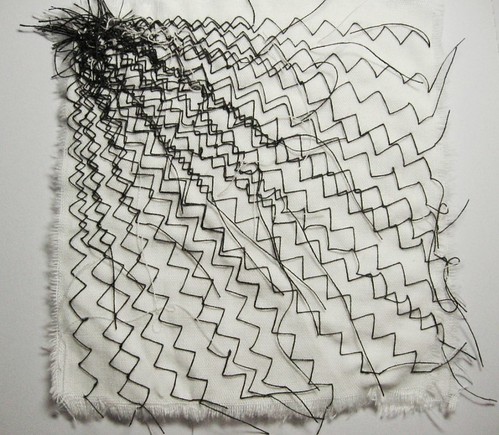
Image 4 – Good old basic zigzags:

Chapter 3

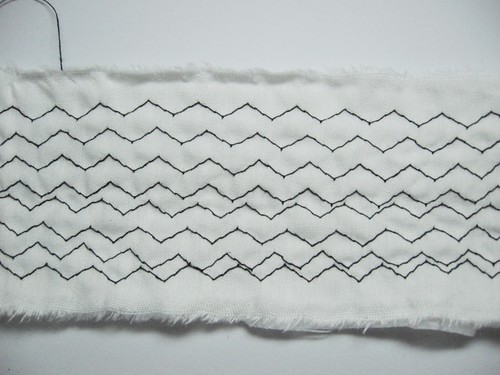
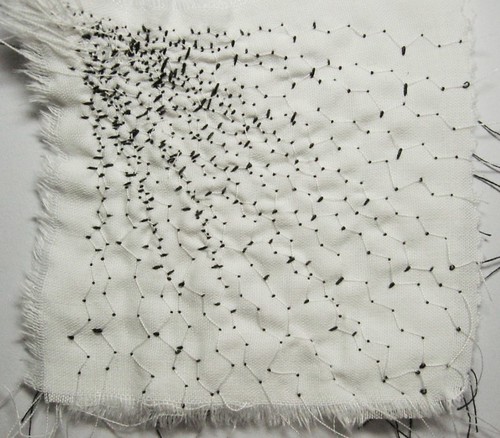
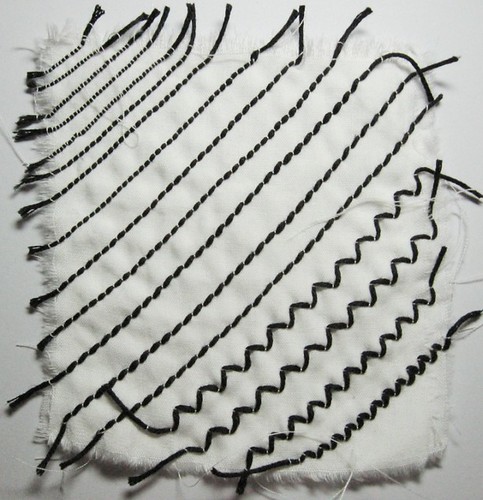
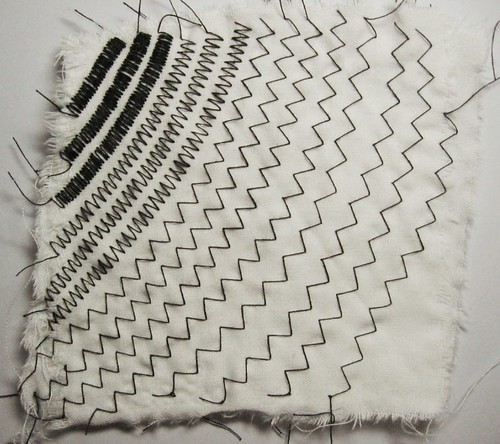
Image 5 – Straight stitch with zigzag introduced (as in image 2) but with a change of needle position and no gradual change of zigzag stitch width:

Chapter 3

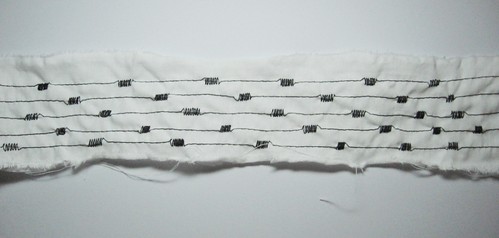
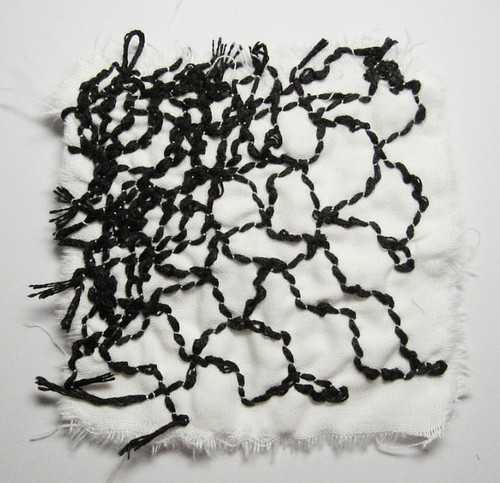
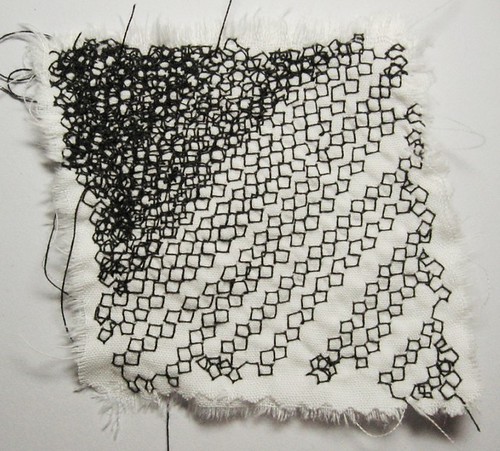
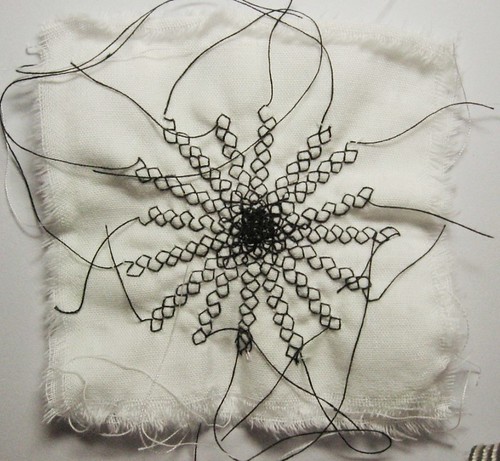
Image 6 – A decorative stitch (honeycomb?), this seemed to take forever to complete!:

Chapter 3

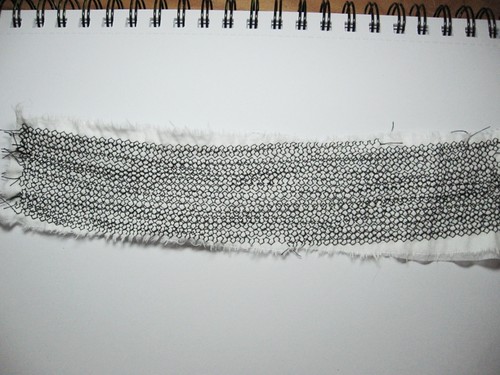
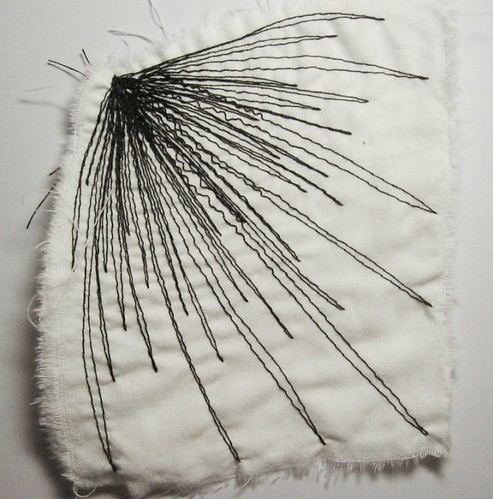
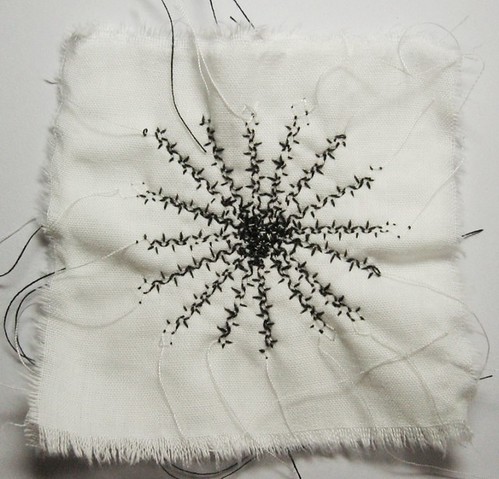
Image 7 – Straight stitch in three directions:

Chapter 3

Chapter 3 – Tonal Effects in Machine Stitchery (b)

Image 1 – Straight stitch, this gives teeny tiny little loops:

Chapter 3

Image 2 – Zigzag stitch, the little ‘loops’ are a more elongated with the zigzag:

Chapter 3

Image 3 – Varying zigzag stitch, gives different sized ‘loops’', I quite like this haphazard look:

Chapter 3

Image 4 – This is absolutely my favourite!  Black thread on both sides with zigzag stitch and some pulling at the top thread to give little (unsupported) loops.  You’d have to bond the back of this to stop the little loops unravelling but I really like the effect this gives:

Chapter 3

Image 5 – Black embroidery floss wound onto the bobbin, finding my feet with simple stitching:

Chapter 3

Image 6 – Black embroidery floss wound onto the bobbin, far more haphazard:

Chapter 3

Image 7 – Black embroidery floss wound onto the bobbin, zigzag stitch:

Chapter 3

Image 8 – Black embroidery floss wound onto the bobbin, straight stitch with varying length.  Of all of the ‘cable stitch’ samples this is my favourite because of the little nobbles of thread:

Chapter 3

Chapter 3 – Tonal Effects in Machine Stitchery (a)

I’m going to log Chapter 3 with three blog entries:

  1. Using the basic stitches on the machine
  2. Creating whip and cable stitch effects
  3. Machine stitched strips

So first off here are the straight stitch samples.

Image 1 – Stretch blind hem:

Chapter 3

Image 2 – Zigzag stitch (varying width):

Chapter 3

Image 3 – Straight stitch (varying space between lines):

Chapter 3

Image 4 – Zigzag stitch (varying width between stitch lines):

Chapter 3

Image 5 – Straight stitch:

Chapter 3

Image 6 – Zigzag stitch (running the stitch in different positions on the fabric to create voids):

Chapter 3

Image 7 – Zigzag stitch (varying length and width of stitch):

Chapter 3

Image 8 – Zigzag stitch (varying length of stitch)

Chapter 3

Image 9 – A decorative (honeycomb?) stitch (this is actually my favourite):

Chapter 3

Image 10 – Zigzag stitch (varying stitch length and width):

Chapter 3

Image 11 – A decorative (honeycomb?) stitch from the front of the fabric:

Chapter 3

Image 12 – A decorative (honeycomb?) stitch from the back of the fabric:

Chapter 3